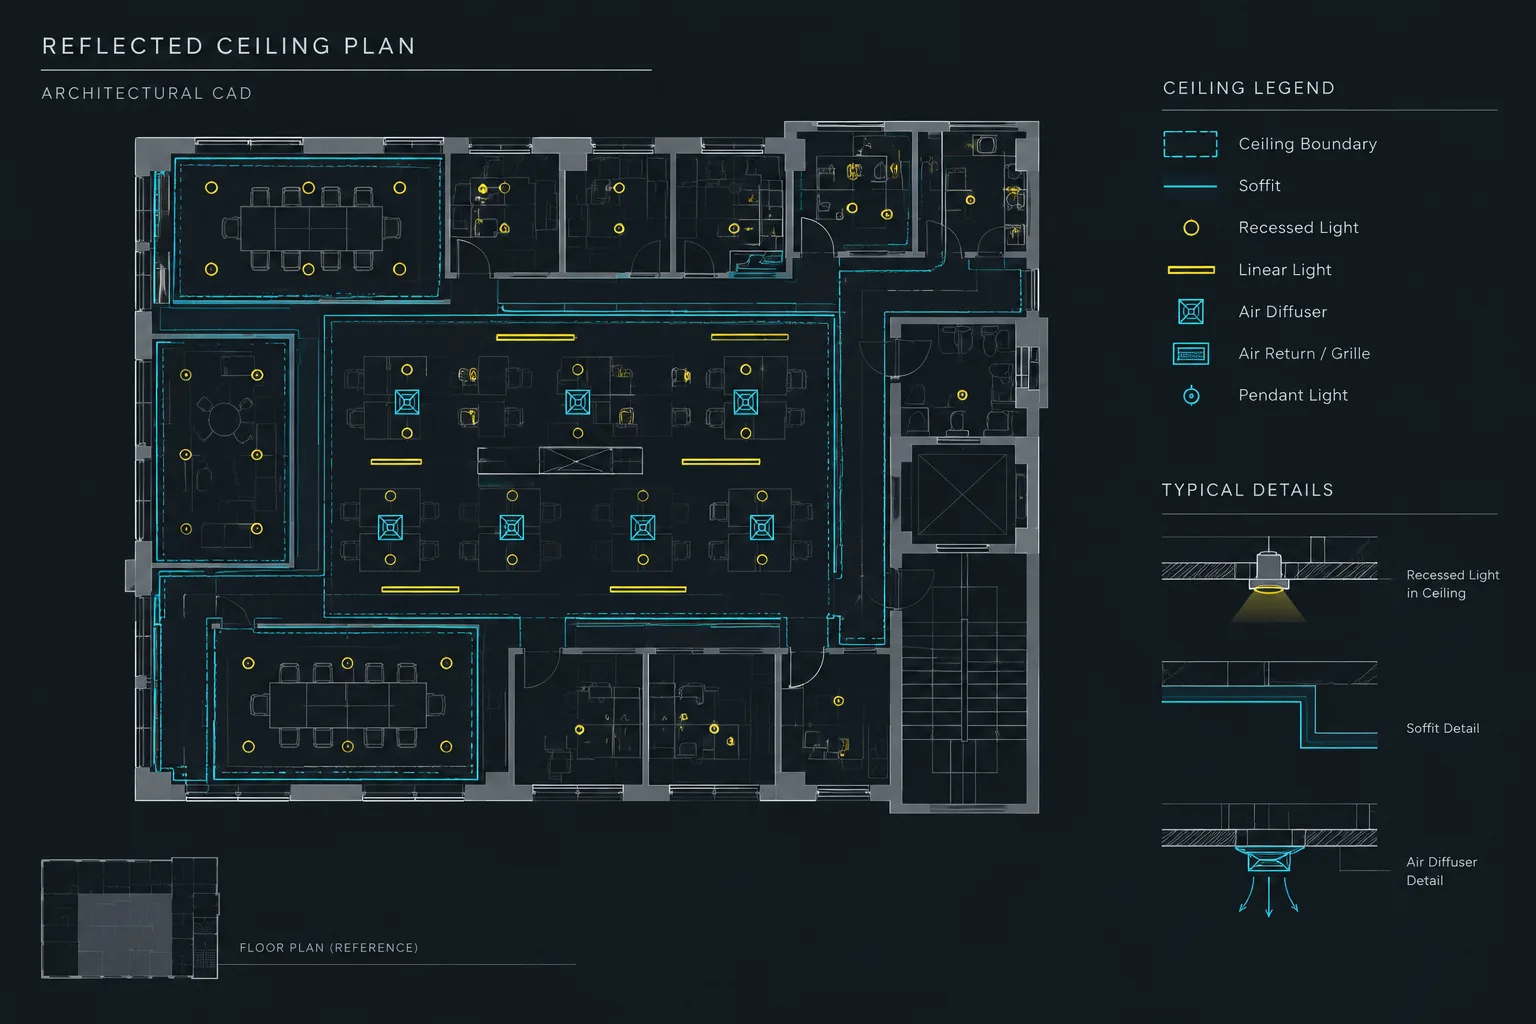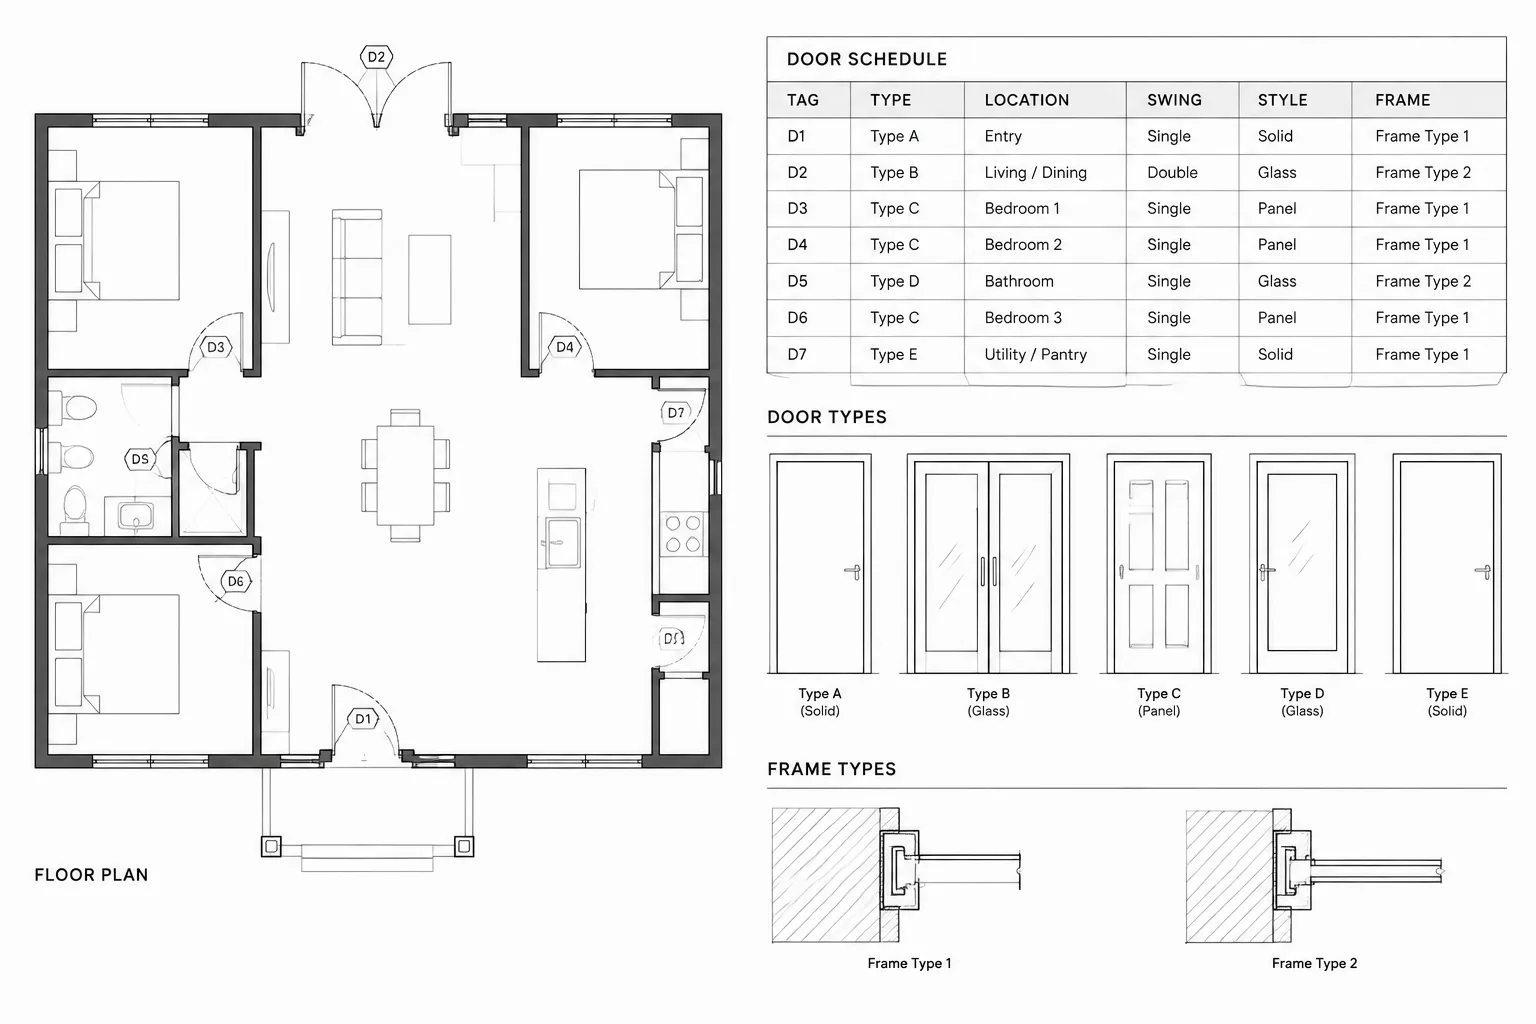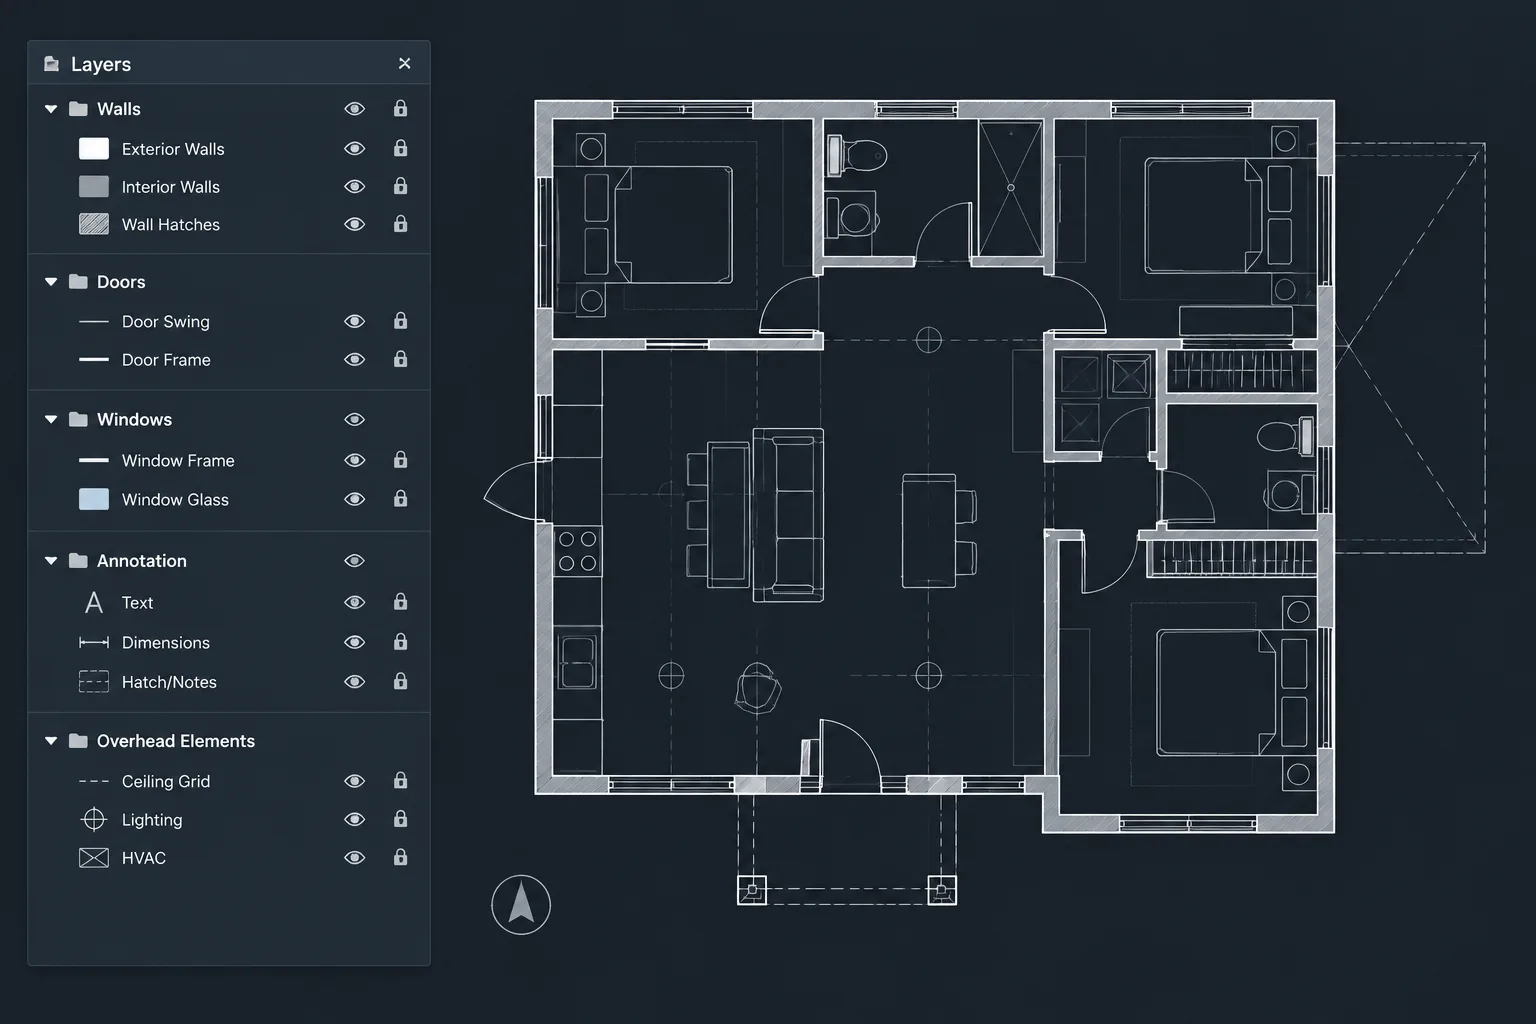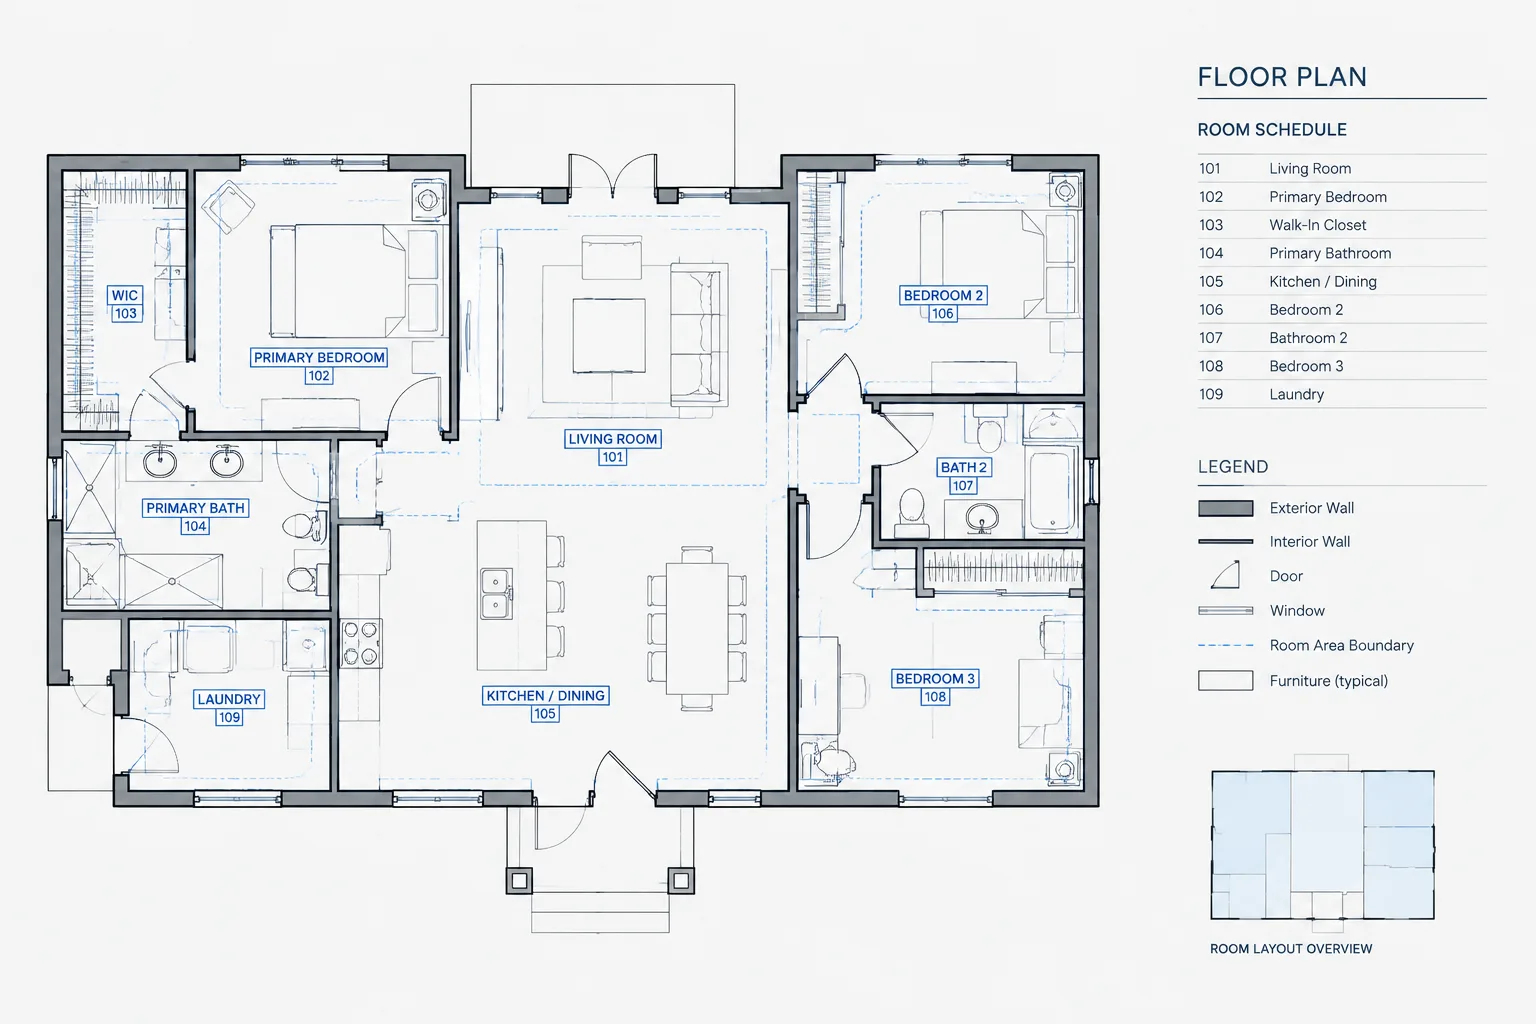
Room numbering and area tags in architectural CAD form an information system that extends beyond the visible floor-plan label. Each identifier may connect a room to schedules, doors, finishes, equipment, signage, consultant backgrounds, and area reporting. A dependable workflow must keep those references aligned as walls, names, and space assignments change.
This guide explains how to organize room identities, tag blocks, measurement boundaries, layers, revisions, and quality-control checks. The principles apply whether room data is maintained through attributed blocks, schedules, spreadsheets, fields, or another controlled project source.
Room tags may look like simple plan annotations, but they connect several important parts of an architectural drawing set. A room number can appear on floor plans, finish schedules, signage drawings, door information, equipment lists, and consultant documents. Room areas may also support programming, planning, leasing, or project-specific reporting.
A reliable room-tagging workflow therefore requires more than placing text in the center of each space. The drafter must define what constitutes a room, establish a numbering system, control area boundaries, and keep every reference coordinated as the plan changes.
Separate the room identity from the room tag
The room identity is the underlying project information: room number, room name, level, department or zone, and any required area value. The room tag is only the graphic device used to display some of that information on a particular drawing.
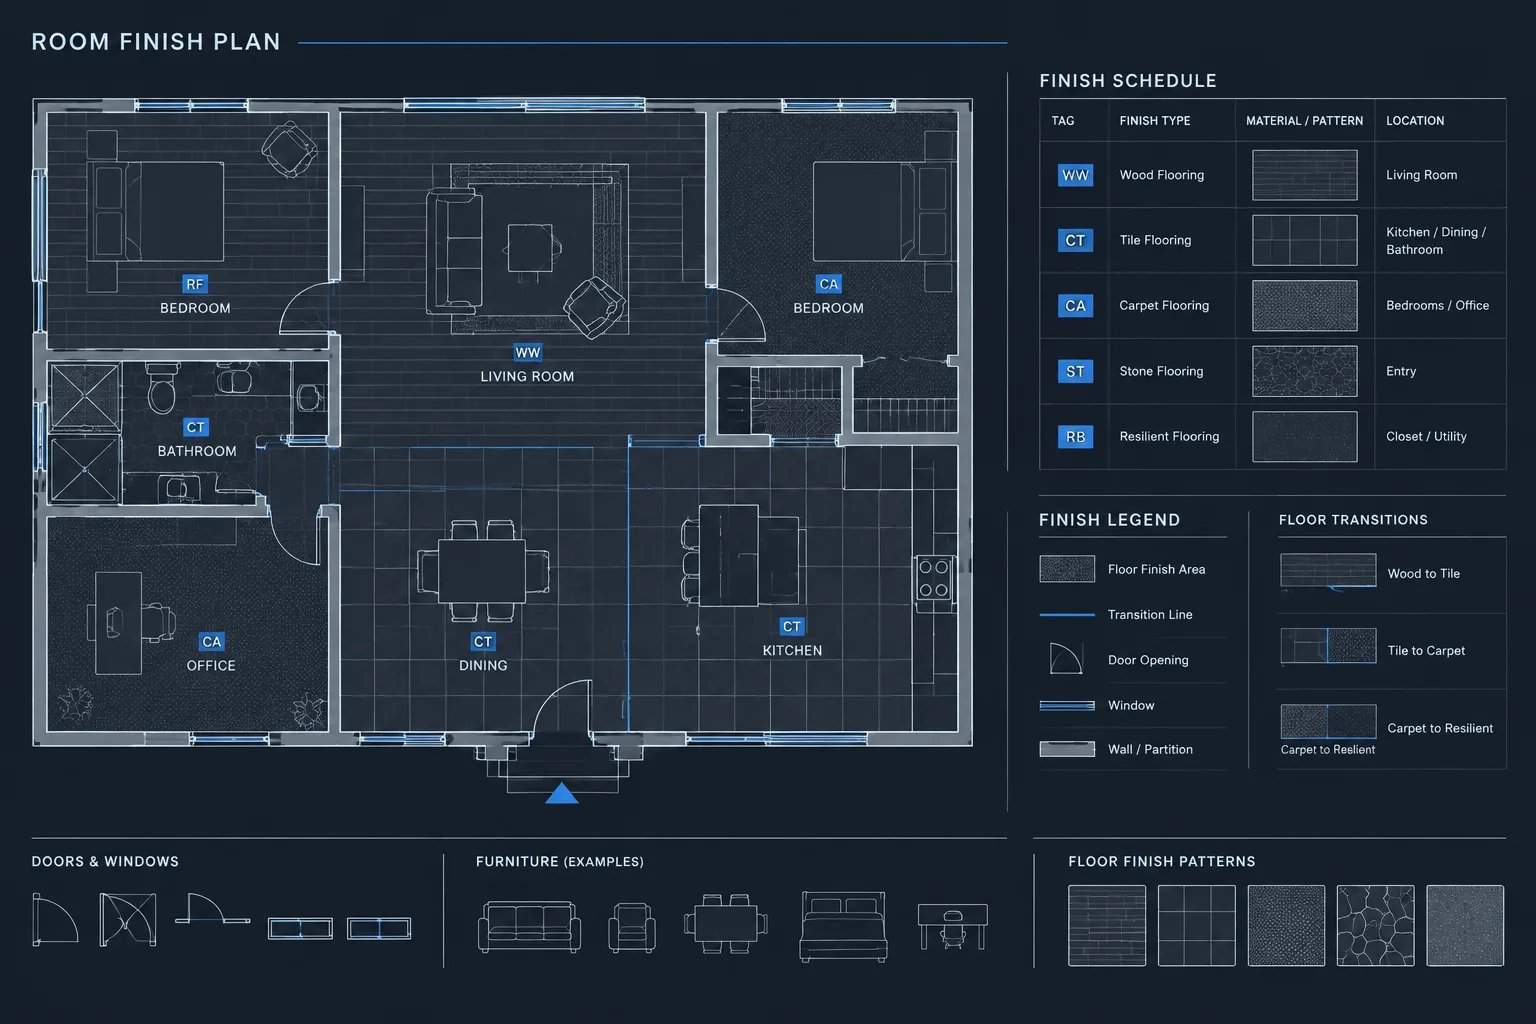
This distinction is useful because one room may need different tag formats in different views. A general floor plan might show a room name and number, while a finish plan may use a compact identifier to reduce clutter. Both tags should refer to the same room identity rather than becoming separate, independently edited labels.
Before drafting tags, decide where the project’s room information will be maintained. Depending on the office workflow, the source may be a controlled spreadsheet, a room data schedule, an attributed CAD block system, or another project database. Avoid allowing several uncoordinated files to act as competing sources of truth.
Establish a room numbering strategy early
A room numbering system should help drawing users locate spaces and understand their relationship to the building. The exact format varies by project and owner requirements, so it should be confirmed rather than assumed.
Common organizing concepts include:
- Associating room numbers with a building level or floor.
- Following a predictable circulation sequence.
- Grouping rooms by wing, zone, department, or building area.
- Allowing unused numbers so later rooms can be inserted without renumbering an entire floor.
- Using controlled suffixes for rooms that are subdivided during design.
- Distinguishing separate buildings when one drawing set covers a campus or multi-building project.
The sequence should be tested against the way occupants move through the project. A numbering pattern that appears logical in a spreadsheet may be confusing when followed along a corridor. Review the numbered plan visually before the identifiers are distributed to schedules and consultants.
Rooms, spaces, and minor enclosures
Not every enclosed area necessarily receives a room number. Closets, alcoves, shafts, open work areas, toilet compartments, and equipment recesses may be treated differently according to the project’s documentation requirements.
Create a written project rule for these conditions. For example, the team should know whether a storage enclosure receives its own identifier, shares the number of an adjoining room, or is tracked only in another schedule. The goal is consistency, not forcing every project into one universal system.
Build a dependable room-tag block
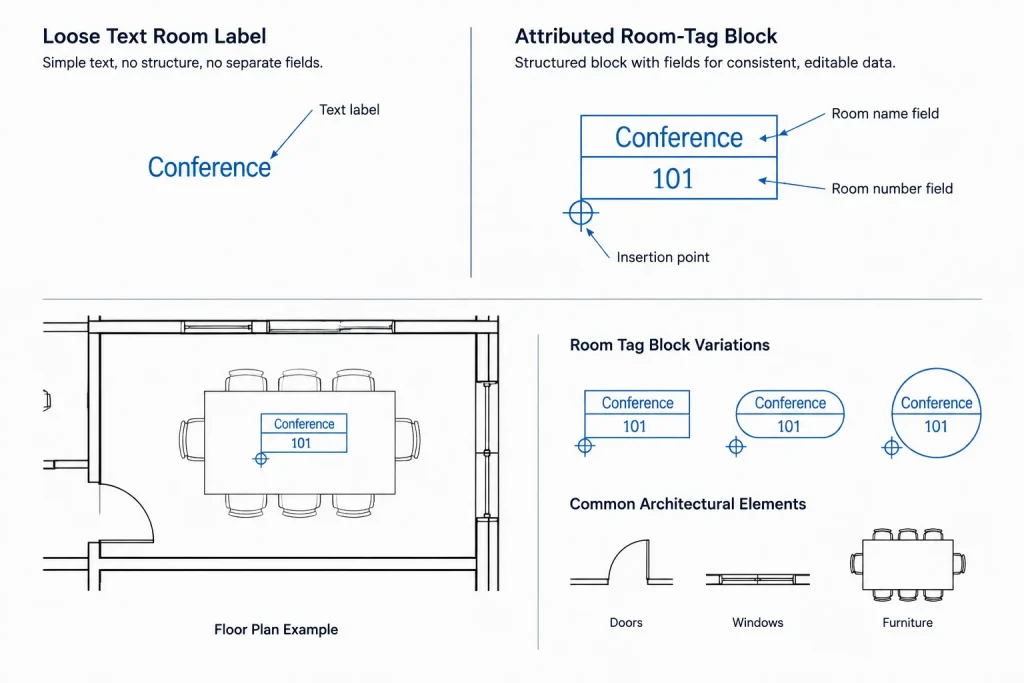
A practical room tag is usually easier to manage as a block than as loose text and linework. Attributes can hold the room name, room number, and other displayed values while preserving a consistent graphic arrangement.
When creating the block, consider the following:
- Use a meaningful insertion point that makes the tag easy to center and reposition.
- Place tag geometry and text on layers that follow the office annotation strategy.
- Use established text styles instead of local formatting overrides.
- Set attribute prompts and default values so their purpose is clear.
- Keep attribute tags stable after the block has been used throughout a project.
- Test long room names and unusual identifiers before adopting the block.
- Confirm that the tag remains readable at its intended plotted scale.
Do not fill blank space by stretching the tag excessively or shrinking text until it becomes difficult to read. If room names regularly exceed the available width, consider a controlled multiline format or an alternate tag intended for constrained plans.
Define room-area boundaries independently
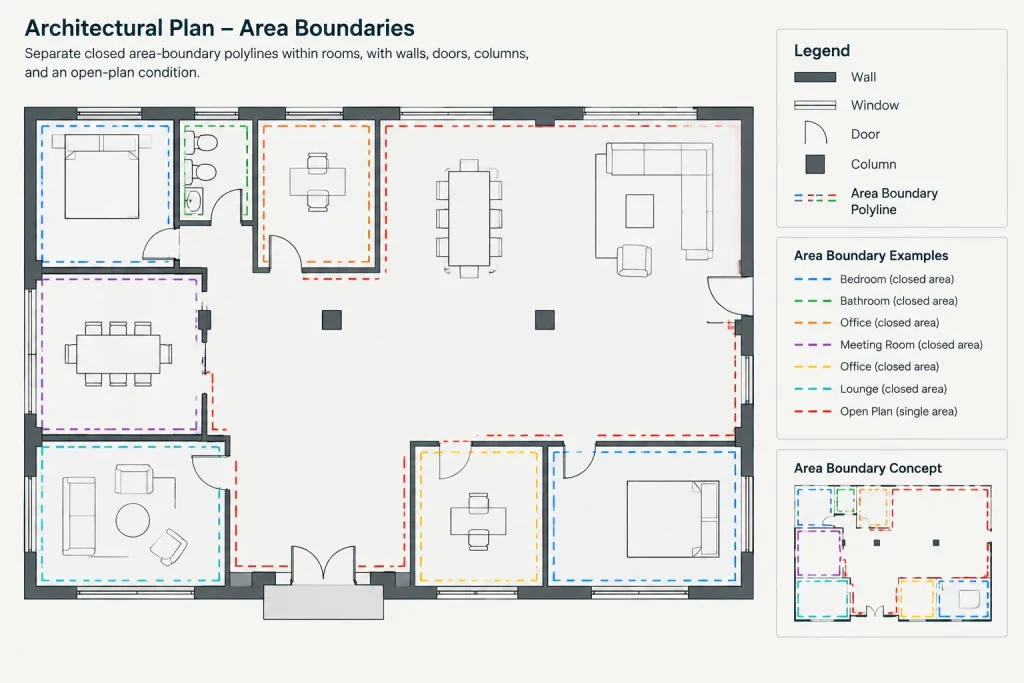
A room’s visible wall lines are not always suitable area boundaries. Openings, columns, casework, wall offsets, partial-height partitions, and drawing cleanup gaps can prevent an area command from returning a dependable result. Area measurement also depends on the project’s stated measurement method.
A practical CAD workflow uses dedicated closed polylines for area boundaries. These objects can be placed on a nonplotting or controlled reference layer and reviewed independently from the wall graphics.
Creating boundary polylines
- Start from coordinated architectural geometry rather than tracing an outdated background.
- Follow the project’s agreed measurement basis at walls, openings, columns, and shared boundaries.
- Create one clearly identifiable closed boundary for each measured space.
- Avoid self-intersections, duplicated segments, and tiny gaps.
- Check curved and angled conditions closely instead of approximating them without a project reason.
- Keep boundaries aligned when walls move during design revisions.
Automatic boundary-generation tools can save time in clean plans, but their results still require review. Dense linework may produce small unwanted islands, leak through gaps, or follow furniture and hatch lines that should not define the room.
Displayed area versus calculated area
A calculated polyline area and the value printed in a room tag are related but not necessarily interchangeable. The displayed value may be rounded, formatted, converted, or governed by a project-specific measurement convention.
If fields are used to display an area derived from a polyline, verify that the field references the intended object and updates correctly after editing. Also confirm the drawing units and the formatting applied to the result. A field can reduce transcription errors, but it does not determine whether the boundary itself is correct.
Use layers to separate graphics, data, and checking aids
Room documentation becomes easier to review when different functions are not mixed on one layer. The exact names should follow the project’s layer standard, but the functional separation can include room tags, area boundaries, room-color diagrams, and temporary checking graphics.
| CAD content | Recommended control | Reason |
|---|---|---|
| Room tag blocks | Annotation layer | Allows room labels to be controlled by view and sheet purpose. |
| Area boundaries | Dedicated nonplot or reference layer | Keeps measurement geometry available without printing it on issued plans. |
| Room-color fills | Separate diagram layer | Prevents programming or departmental graphics from affecting construction plans. |
| Review markers | Temporary checking layer | Makes unresolved duplicates, missing tags, and boundary issues visible during quality control. |
Do not place tags on the same layer as walls simply because they appear in the same plan. Separate control is valuable when creating finish plans, equipment plans, presentation diagrams, and consultant backgrounds.
Coordinate room tags with the rest of the drawing set
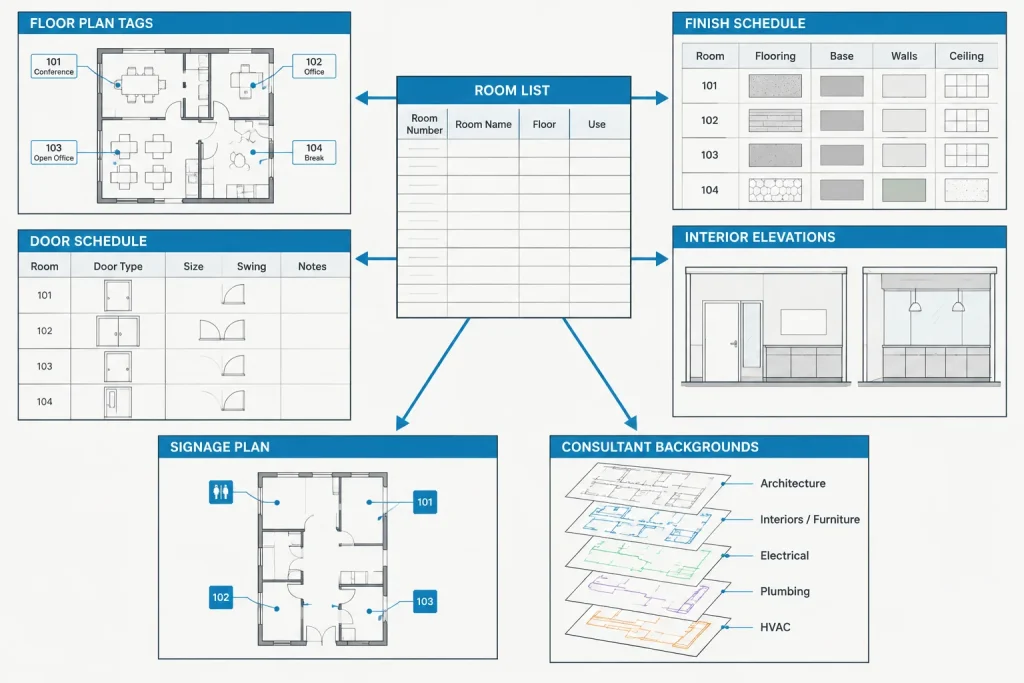
A room number should be treated as a project-wide identifier. Renumbering a room can affect far more than the floor plan.
Review the following references when room information changes:
- Door numbers and door schedules.
- Room finish plans and finish schedules.
- Interior elevations and their view references.
- Furniture, equipment, and specialty plans.
- Signage or wayfinding information.
- Keynotes or notes that identify a room directly.
- Consultant plans that use architectural room numbers.
- Area summaries and programming diagrams.
Room names also require coordination even when room numbers remain unchanged. A name change from a generic planning label to an owner-approved name may need to flow to schedules, signage, and equipment documents.
Handle design changes without losing room history
Plan revisions frequently create room-numbering problems. One room may be divided into two, several rooms may be combined, or a corridor sequence may be reorganized. Renumbering everything immediately can disrupt consultant coordination, but preserving every obsolete identifier can make the final plan confusing.
Use a controlled change process:
- Record the existing room identifier before changing it.
- Determine whether the project requires a new number, a suffix, or another approved convention.
- Update the central room list before editing dependent drawings.
- Mark changed rooms for focused coordination review.
- Search the drawing set for old identifiers rather than relying only on visual inspection.
- Notify other disciplines when issued or shared room references have changed.
Avoid reusing a deleted room number casually during an active project. Reuse can make older markups, meeting notes, and consultant files appear to refer to the wrong space.
Quality-control checklist for room plans
Before issuing a drawing, review room tags and boundaries systematically rather than checking only the most visible spaces.
- Every required room has one appropriate identifier.
- No room number is duplicated unintentionally.
- Room names match the controlled room list.
- Tags do not obscure doors, dimensions, fixtures, or important plan geometry.
- Tags remain inside or clearly associated with their rooms.
- Area boundaries are closed and correspond to current walls.
- Area values use the intended units, precision, and measurement method.
- Room numbers agree with schedules and related plan types.
- Old room numbers have been removed from visible and hidden annotation.
- Nonplot boundary and checking layers do not appear in the final output.
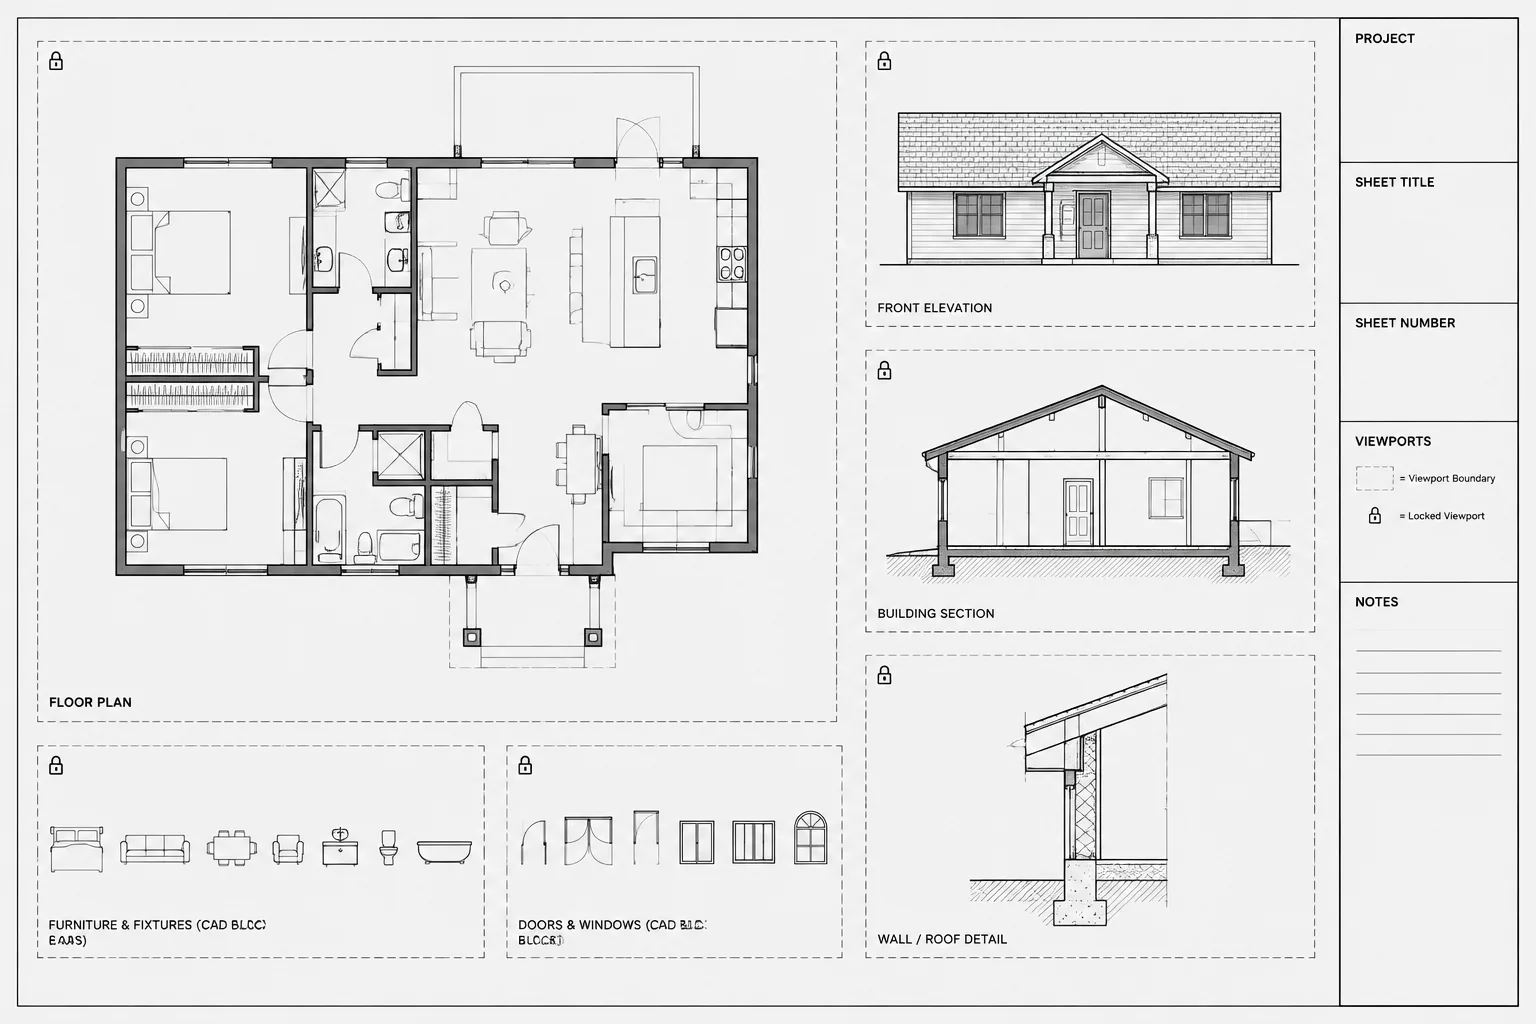
The final check should include a plotted PDF or equivalent output, not only the DWG model. Viewport clipping, layer overrides, annotation scale, masks, and nearby notes can create problems that are not obvious while editing model space.
A room plan is a coordination tool, not just a labeled floor plan
Effective room numbering in architectural CAD combines information management with clear drafting. The strongest workflow establishes a controlled numbering strategy, uses consistent tag blocks, maintains separate area boundaries, and checks room references across the entire drawing set.
When room identities are managed as coordinated project data rather than isolated text labels, revisions become easier to track and plans become more useful to architects, consultants, builders, and owners.
Turn room coordination into a repeatable drafting process
The most reliable sequence begins with approved room information rather than with tag placement. Confirm the room list and numbering logic, establish the applicable area-boundary method, and then create or update the plan annotation. This reduces the risk of polished tags displaying unverified data.
Use a clear update path
- Confirm the source: Identify which project record controls room names, identifiers, and reporting data.
- Update room identities: Resolve additions, deletions, subdivisions, and name changes before distributing revised information.
- Revise boundaries: Compare measurement polylines with the current architectural geometry.
- Refresh displayed information: Update attributes, fields, or scheduled values according to the established CAD workflow.
- Check dependent references: Search plans, schedules, details, and consultant files for affected identifiers.
- Review the output: Inspect the sheet presentation to catch clipping, masking, scale, visibility, and overlap problems.
Distinguish data errors from graphic errors
A correct-looking tag can contain the wrong room information, while a correct room record can be displayed poorly. Data review should test identity, naming, area source, and cross-document consistency. Graphic review should test position, readability, layer visibility, plotting behavior, and conflicts with other annotation.
Keeping these checks separate makes troubleshooting more efficient. If several plans show the same incorrect name, investigate the controlling room record. If only one view is wrong, inspect that view’s block, attribute, field, layer, or annotation settings.
Prepare room information for consultant exchange
When architectural backgrounds are shared, communicate whether room identifiers are approved, provisional, or under revision. Include room tags and necessary reference geometry in a form that remains legible without exposing temporary checking graphics. If a room list accompanies the drawing, confirm that it represents the same plan revision.
After receiving consultant drawings, review room references rather than assuming they updated automatically. Old identifiers may remain in notes, equipment labels, keyed details, or independently maintained schedules even when the architectural background is current.
Frequently asked questions
Should a room tag be loose text or an attributed CAD block?
An attributed block generally provides better graphic consistency and makes room information easier to review or extract. Loose text may be appropriate for a temporary study, but it is more vulnerable to inconsistent formatting and disconnected edits.
Should the room tag and area boundary be placed on the same layer?
They usually benefit from separate control. The tag is visible plan annotation, while the boundary is measurement or reference geometry that may need to remain available without plotting.
Can visible wall lines be used directly to calculate room area?
They may not form a dependable closed boundary. Doors, wall gaps, columns, offsets, hatches, and other plan graphics can interfere with area calculations. A reviewed closed polyline makes the measurement basis easier to inspect and maintain.
Does an automatically updated field guarantee a correct room area?
No. A field can display information from a referenced object, but it cannot confirm that the selected boundary follows the project’s measurement convention or current wall layout. The boundary, units, formatting, and object reference still require review.
What should happen when a room is divided or combined?
Apply the project’s approved numbering convention, update the controlled room record, and identify every dependent reference that may be affected. Preserve enough change history to prevent older markups and consultant documents from being mistaken for current information.
Why can a room tag appear correct in the DWG but fail on the issued sheet?
Viewport clipping, layer controls, annotation settings, masks, plotting configuration, and nearby notes can change the final presentation. Room plans should therefore be checked in the intended sheet output as well as in the CAD editing environment.