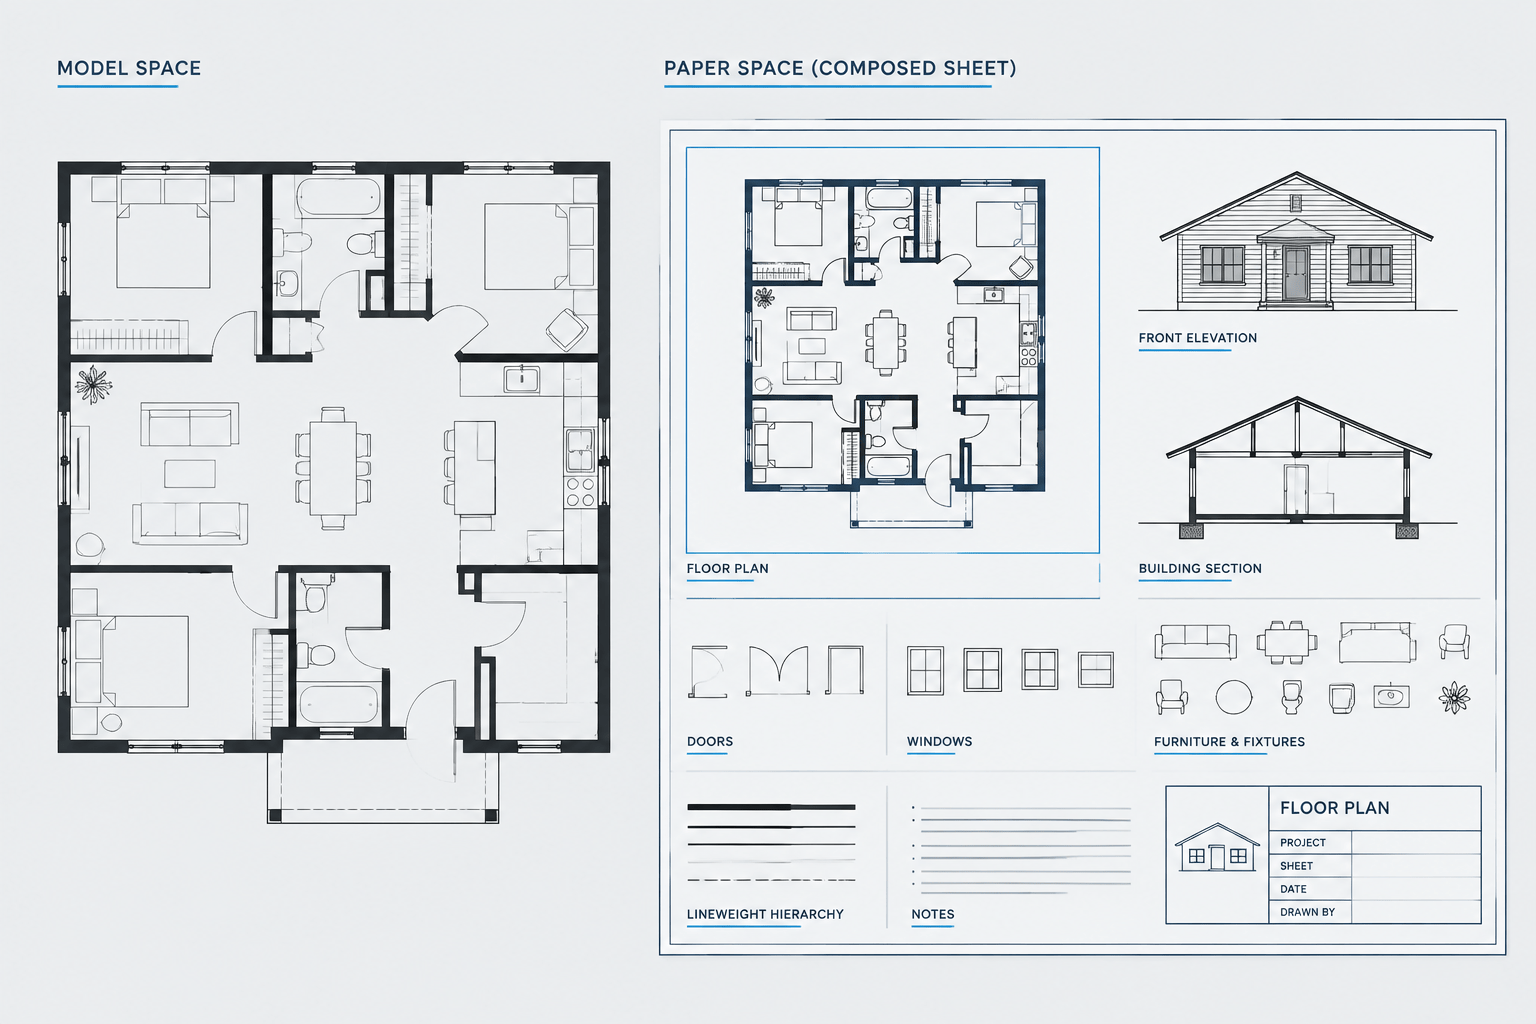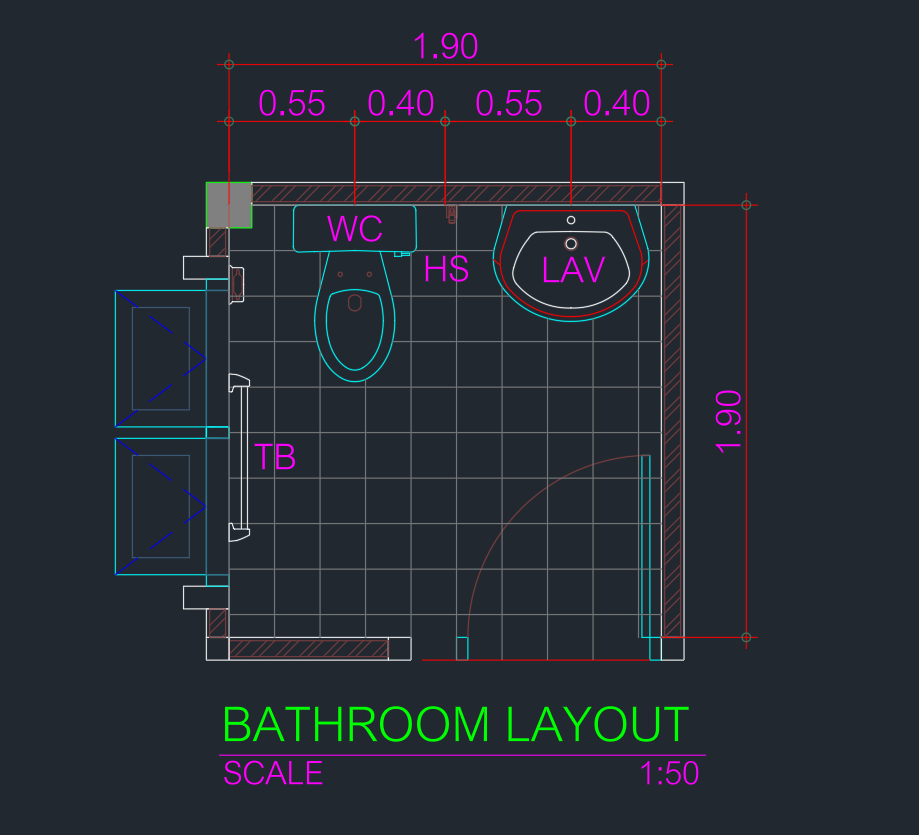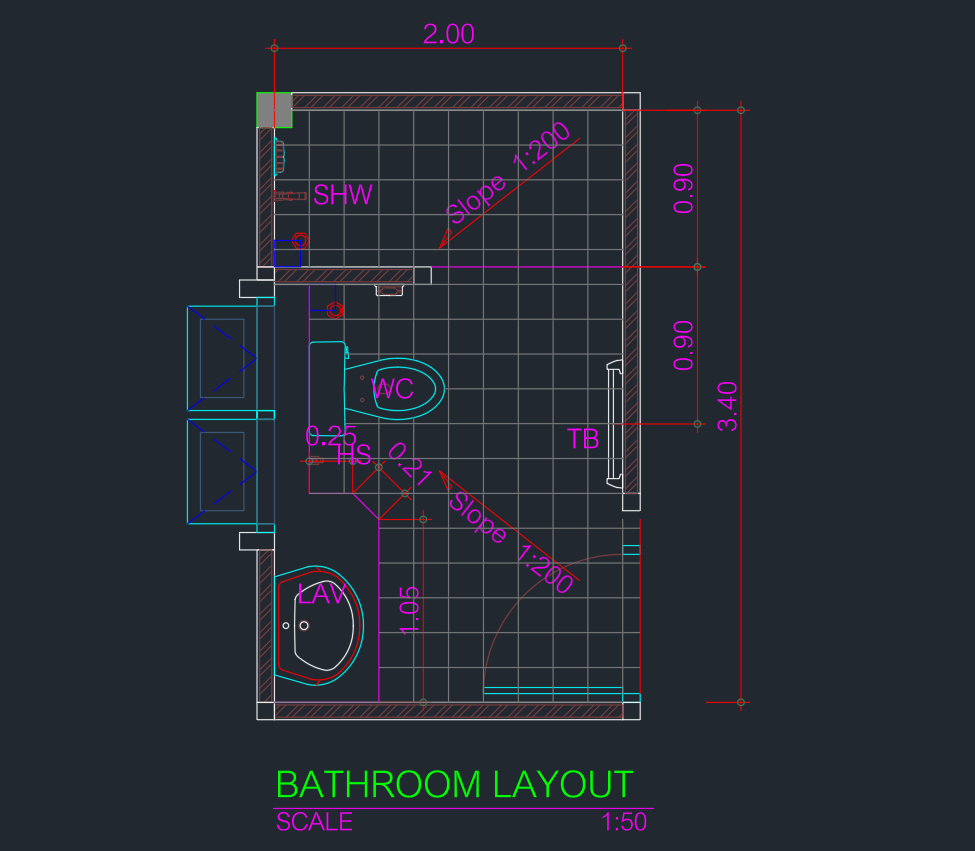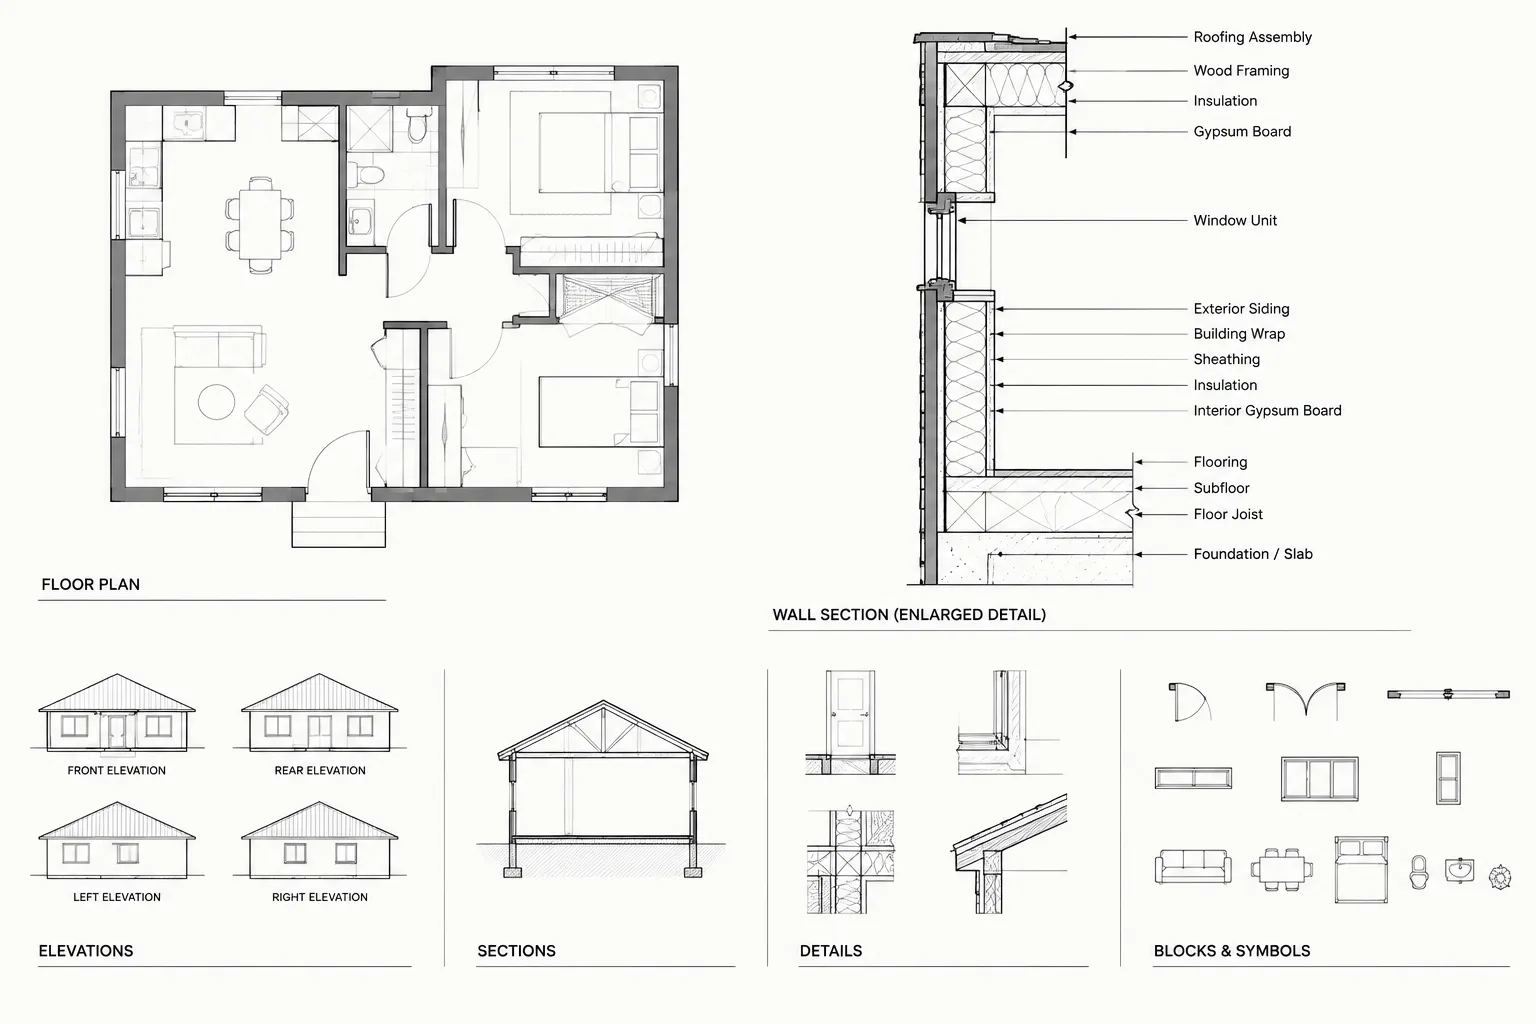
Architectural CAD leaders do more than connect text to linework. They define exactly where an instruction applies and help readers distinguish local conditions from general project information. When endpoints, note wording, and leader paths are coordinated, annotations remain clear even in drawings with dense geometry.
This guide focuses on the decisions behind readable leaders and note callouts: selecting the appropriate annotation type, locating the note, identifying the intended subject, managing revisions, and checking the result in its final sheet context.
Leaders connect written information to specific elements in an architectural drawing. They appear simple, but inconsistent leader angles, crowded arrowheads, ambiguous endpoints, and poorly placed notes can make an otherwise accurate drawing difficult to read.
A reliable annotation workflow treats leaders as part of the drawing hierarchy rather than as last-minute graphic marks. Their text, linework, spacing, and placement should work together at the intended plotted scale. This guide explains how to create and review architectural CAD leaders for floor plans, elevations, sections, and details without tying the workflow to a particular office standard.
What an architectural leader should communicate
A leader should establish an unmistakable relationship between a note and the item it describes. The reader should be able to follow the leader from the text to its endpoint without crossing unrelated annotations or guessing which object is referenced.
Common uses include identifying materials, describing installation conditions, calling out equipment, marking overhead items, noting existing conditions, and directing the reader to a specific edge, surface, joint, or component. Leaders may also support numbered keynotes, but a keynote symbol and a direct text note serve different purposes.
- Direct note: Places the instruction or description beside the drawing view.
- Keynote: Uses a reference identifier that corresponds to a separate legend or note list.
- General note: Applies broadly and usually does not need a leader to one object.
- Reference callout: Directs the reader to another view, detail, or sheet rather than describing the object itself.
Choosing the correct annotation type prevents leaders from carrying information that belongs elsewhere in the drawing set.
Start with a defined annotation system
Before placing notes, confirm the project conventions for text styles, arrowheads, layers, plotting, and paper-space or model-space annotation. A leader copied from an unverified external file may bring in the wrong text style, scale behavior, color, or lineweight.
A basic leader system should define:
- The text style used for drawing notes
- The relationship between text height and plotted sheet scale
- The approved arrowhead or endpoint marker
- Leader and text layers
- Typical landing behavior beside the text
- Rules for direct notes, keynotes, and reference symbols
- Whether annotation is created in model space, paper space, or according to a controlled mixed workflow
These settings should come from the project template whenever possible. If downloaded blocks or consultant files contain annotation, inspect and standardize it before reuse.
Build the note before drawing the leader
Write concise note text first. A short, specific instruction is easier to place than a long paragraph and less likely to obscure geometry. Remove repeated wording already covered by a general note, schedule, or specification reference.
Break longer notes into readable lines instead of allowing a single line of text to stretch across the view. Keep related wording together, and avoid a line break that separates a modifier from the item it describes. The goal is a compact note block with a clear visual edge for the leader landing.
Do not use a leader to compensate for vague language. The endpoint may identify a component, but the note still needs to state clearly what the reader should understand about that component.
Place the endpoint precisely
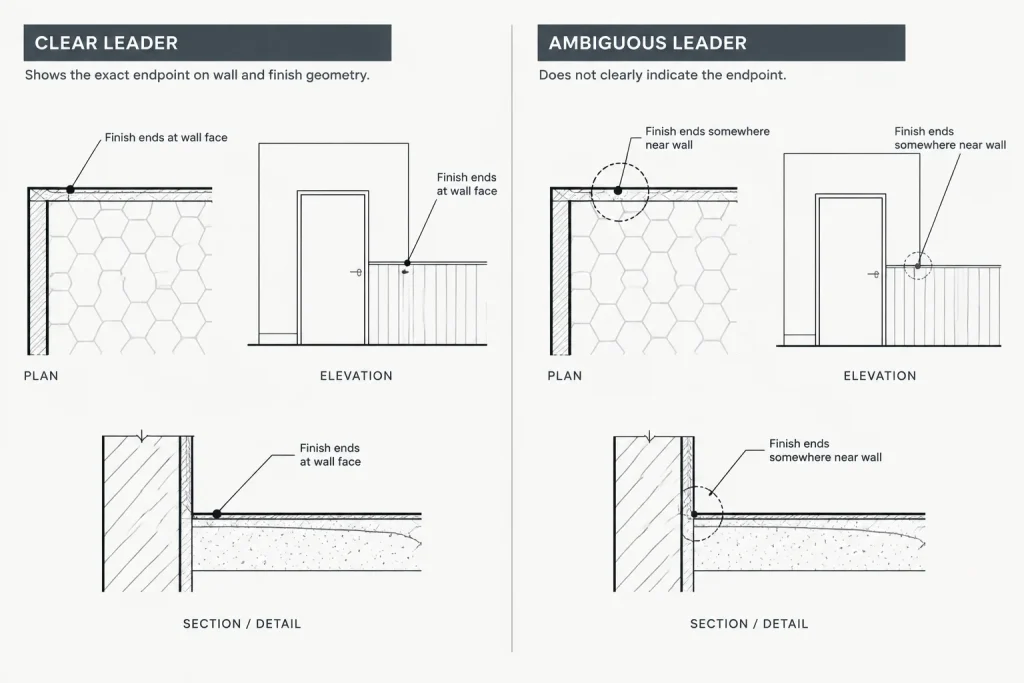
The leader endpoint is the most important part of the annotation. Place it on the element, edge, surface, or region actually described by the note. Avoid endpoints that stop in open space between several objects unless the office convention intentionally uses that method.
Match the endpoint to the subject
- For an edge condition, terminate at the relevant edge rather than in the middle of the object.
- For a surface material, point to the applicable surface or hatch region.
- For a joint, place the endpoint at the joint line.
- For a small component, verify that the arrowhead does not conceal the component.
- For an assembly, choose an endpoint that does not imply the note applies to only one layer.
Zoom out after placing the endpoint. A location that appears precise at high magnification can become ambiguous at the plotted scale.
Control leader paths and landings
Leader geometry should be direct and quiet. Extra bends create visual noise and provide more opportunities for collisions. Use only the segments needed to connect the note to its subject clearly.
Where multiple notes are arranged in a group, align their text blocks and maintain consistent landings. A tidy note column can be easier to scan than individually scattered annotations. However, avoid forcing every note into one column if doing so creates long, tangled leader paths.
Leader lines should not run parallel to nearby object lines so closely that the two can be mistaken for one another. They should also avoid passing through dimensions, room tags, symbols, hatch patterns, and other text. If a leader must cross drawing geometry, preserve enough contrast for the annotation to remain traceable.
Organize notes around the view
Annotation placement should support the natural reading of the drawing. Begin with major view titles, dimensions, tags, and required references, then fit local notes into the remaining clear areas. This avoids placing leaders first and moving them repeatedly as the sheet develops.
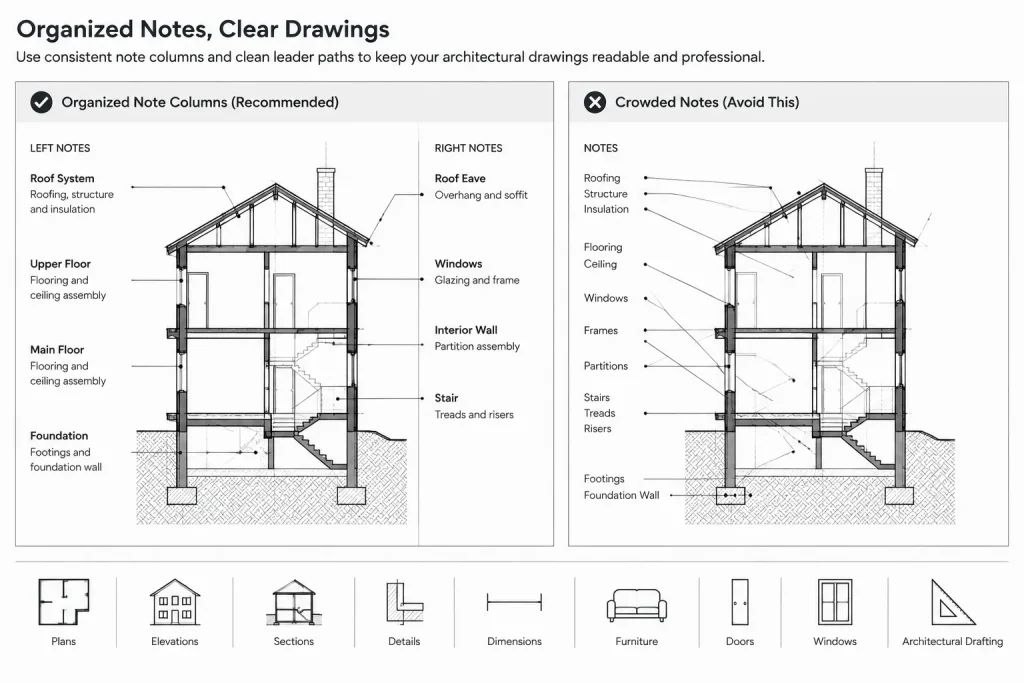
Where practical, place notes outside dense plan or detail geometry. Keep them close enough that the connection remains obvious, but do not crowd them against walls, dimensions, or view boundaries. Group notes by the area or assembly they describe.
For elevations and sections, side margins often provide useful note zones. For details, notes may be distributed around the perimeter with endpoints directed inward. Floor plans generally require more varied placement because rooms, tags, dimensions, and fixtures compete for space.
Choose between direct notes and keynotes
| Method | Useful when | Coordination concern |
|---|---|---|
| Direct note with leader | The information is short and specific to one view | Repeated notes can become inconsistent after revisions |
| Numbered keynote | The same note applies in several locations or views | The identifier must remain coordinated with its legend |
| General note | The instruction applies broadly to the drawing or work category | Do not add a leader that falsely limits its scope |
| Schedule or tag reference | Information is better managed in a structured list | The tag, object, and schedule entry must agree |
Keynotes can reduce repeated text, but they shift part of the reading task to a legend. Direct notes are immediately visible, but numerous repetitions are harder to revise consistently. Many drawing sets use both methods according to information type.
Handle multiple related references carefully
A single note can sometimes apply to several similar objects. Multiple leader branches may be appropriate when the relationship is obvious and all referenced objects truly share the same requirement. Do not branch one note across unrelated conditions merely to save space.
If leader branches cross each other or extend across a large portion of the view, duplicate the note or use a coordinated keynote. Clarity is more important than minimizing the number of annotations.
Repeated wording should be checked globally during revisions. Changing one direct note while leaving identical notes unchanged elsewhere can create conflicting instructions.
Separate annotation from building geometry
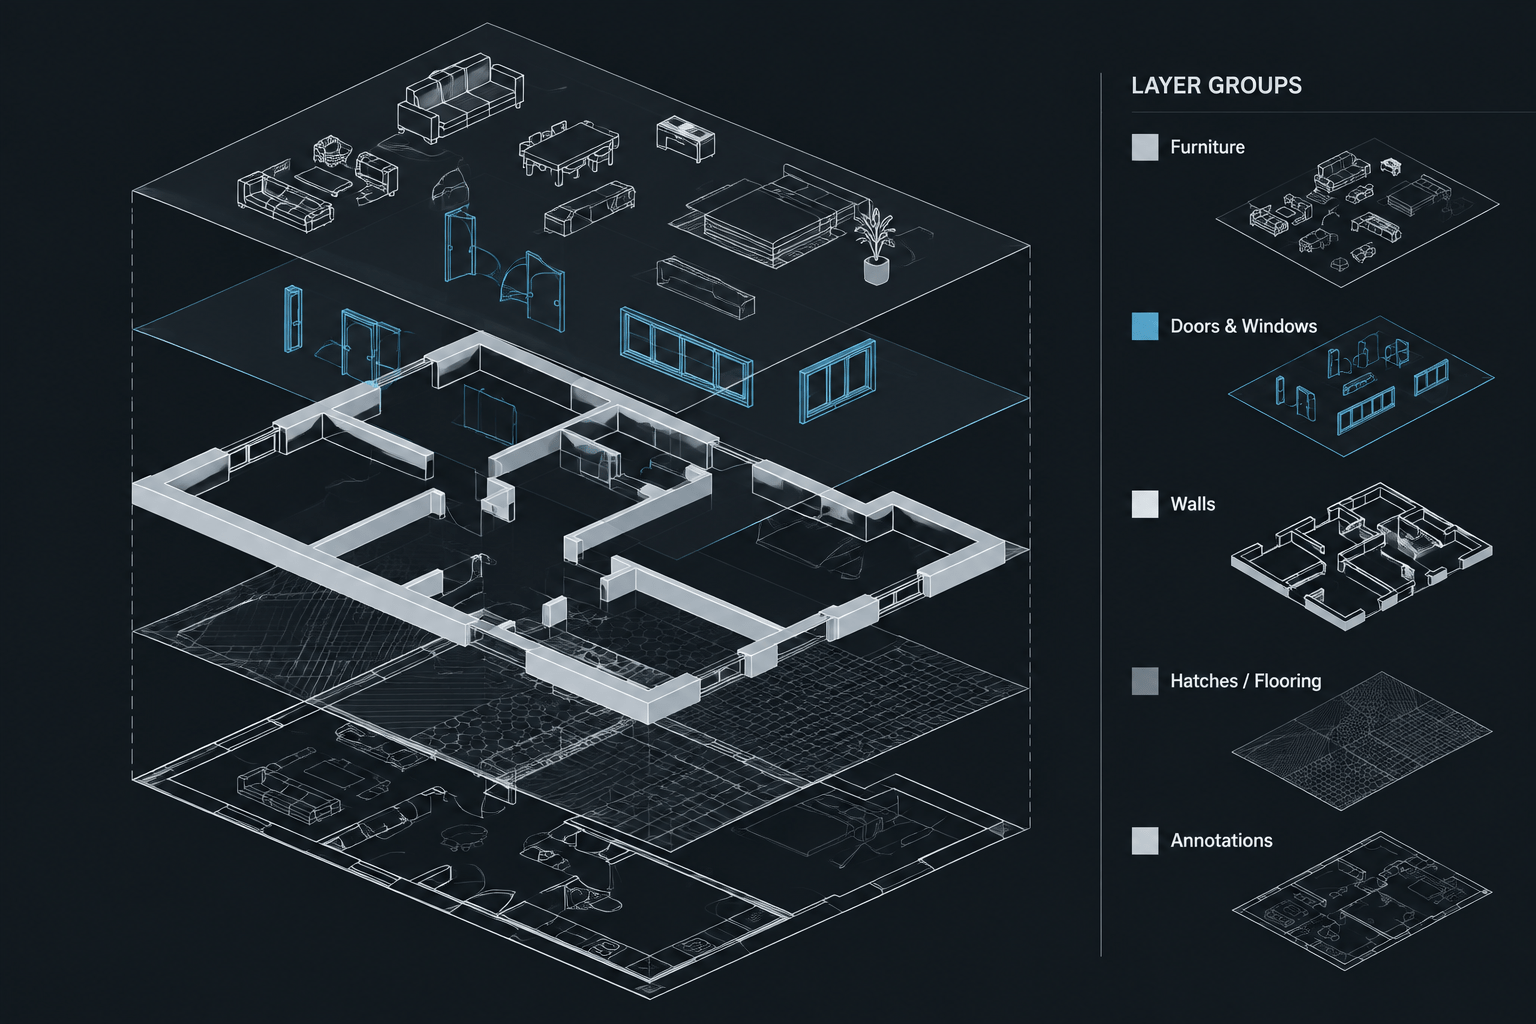
Place leaders and note text on controlled annotation layers rather than on wall, furniture, fixture, or hatch layers. This supports consistent plotting and allows annotation to be reviewed or isolated without hiding the underlying architectural content.
Avoid exploding associative or style-controlled annotation without a specific reason. Fragmented lines, arrowheads, and text are harder to update and can drift apart during editing. If a leader must be converted for file exchange, retain an editable project copy and verify the converted output visually.
Do not use color alone to distinguish annotation meaning. Printed sheets, grayscale exports, and different display settings may remove that distinction. Wording, symbols, and line hierarchy should communicate the information.
Coordinate leaders through drawing revisions
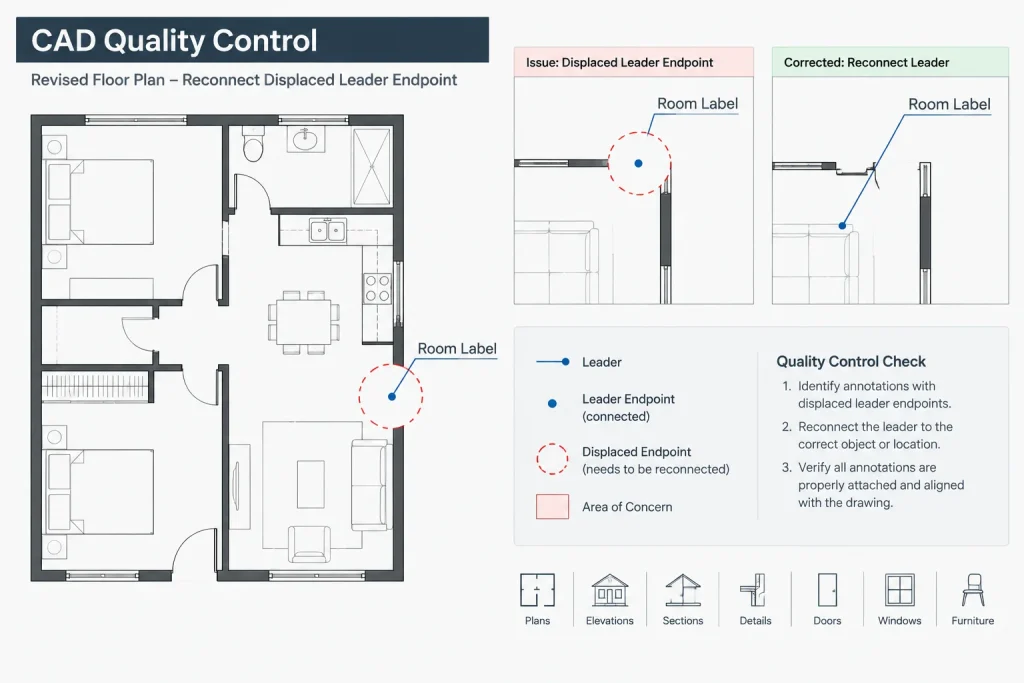
Leaders are vulnerable when geometry moves. A note may remain in place while its endpoint no longer identifies the intended object. Review annotation after wall shifts, door changes, equipment relocations, detail revisions, and reference-file updates.
A focused revision check should ask:
- Does every endpoint still touch the intended subject?
- Has revised geometry covered an arrowhead or leader segment?
- Does the note still describe the current condition?
- Are duplicate notes consistent?
- Do keynote identifiers still match the legend?
- Have new dimensions or tags created collisions?
- Is the annotation visible in the correct viewport and layer state?
Searchable text can help locate repeated wording, but visual inspection is still necessary because a text search cannot confirm whether a leader points to the correct object.
Review at sheet scale, not only in model space
Leader quality must be judged in the final sheet context. Plot or export a review sheet and inspect it at a realistic reading size. Check whether text is legible, arrowheads are distinct, and thin leader lines remain visible without competing with the architectural linework.
Also review the entire sheet from a distance. Dense clusters of notes, uneven text columns, and dark tangles of crossing leaders are easier to recognize when the whole composition is visible. Then zoom in to resolve individual endpoints and wording.
A practical leader drafting sequence
- Confirm the project annotation style, layers, and scale workflow.
- Write concise note text and decide whether it belongs as a direct note, keynote, general note, or schedule reference.
- Reserve a clear text location near the relevant drawing area.
- Place the leader endpoint precisely on the intended subject.
- Route the leader with the fewest practical segments.
- Align related notes and keep landings consistent.
- Remove collisions with dimensions, tags, symbols, and view boundaries.
- Review repeated notes for consistency.
- Check the annotation after geometry or reference files change.
- Verify the result in the plotted or exported sheet.
Final quality-control principle
A successful architectural leader is almost invisible as a graphic device: the reader notices the information and its subject, not the effort required to connect them. Consistent styling helps, but precision and placement matter more. By selecting the correct note type, controlling leader paths, and reviewing every endpoint after revisions, CAD users can produce drawing sheets that are easier to read, coordinate, and maintain.
Diagnosing common leader problems
Many annotation issues can be traced to a mismatch between the note, its endpoint, and the surrounding drawing. Reviewing those parts separately makes the correction easier.
- The subject is unclear: Move the endpoint to a recognizable edge, surface, joint, component, or region rather than relying on nearby open space.
- The leader is difficult to follow: Simplify its path, remove unnecessary bends, and reroute it away from dimensions, symbols, hatches, and other leaders.
- The note block dominates the view: Tighten the wording, relocate repeated information, or consider whether a keynote, general note, tag, or schedule is the better information container.
- Several notes appear unrelated: Align compatible note blocks and use consistent landings while preserving an obvious path to each subject.
- The annotation changed after coordination: Recheck both the wording and endpoint after referenced geometry, layouts, or layer states are updated.
Use a reader-first review
A useful final review begins without assuming prior knowledge of the drawing. Follow each leader from its note to its subject and then reverse the process from the subject back to the note. If either route requires guessing, the annotation needs adjustment.
Review nearby information at the same time. A leader can be accurate by itself yet remain confusing when it crosses a dimension, resembles object linework, or appears to terminate on an adjacent component. The complete sheet composition determines whether the callout succeeds.
Frequently asked questions
What is the difference between a leader note and a general note?
A leader note applies to the object or condition identified by its endpoint. A general note has broader scope and normally should not be connected to a single object in a way that could narrow its meaning.
When should a keynote replace a direct leader note?
A keynote may be more manageable when the same coordinated instruction occurs in several locations. A direct note is often clearer when information is brief, local, and specific to one drawing condition.
Should leaders be placed in model space or paper space?
Use the project’s controlled annotation workflow. Either environment can create coordination problems if text scale, viewport behavior, layers, and plotting conventions are not managed consistently.
Why should leader endpoints be reviewed after drawing revisions?
Architectural geometry can move while annotation remains visually unchanged. The note may still be readable but point to the wrong edge, object, or assembly after coordination updates.
Can one note point to several objects?
Yes, when every referenced object shares the same condition and the branches remain easy to trace. Separate notes or coordinated keynotes are preferable when branching creates ambiguity or crosses unrelated information.
Why does a leader look clear on screen but fail on a sheet?
High magnification can hide crowded endpoints, weak line contrast, and conflicts with surrounding annotation. Reviewing the plotted or exported sheet reveals how the note performs in its intended reading context.