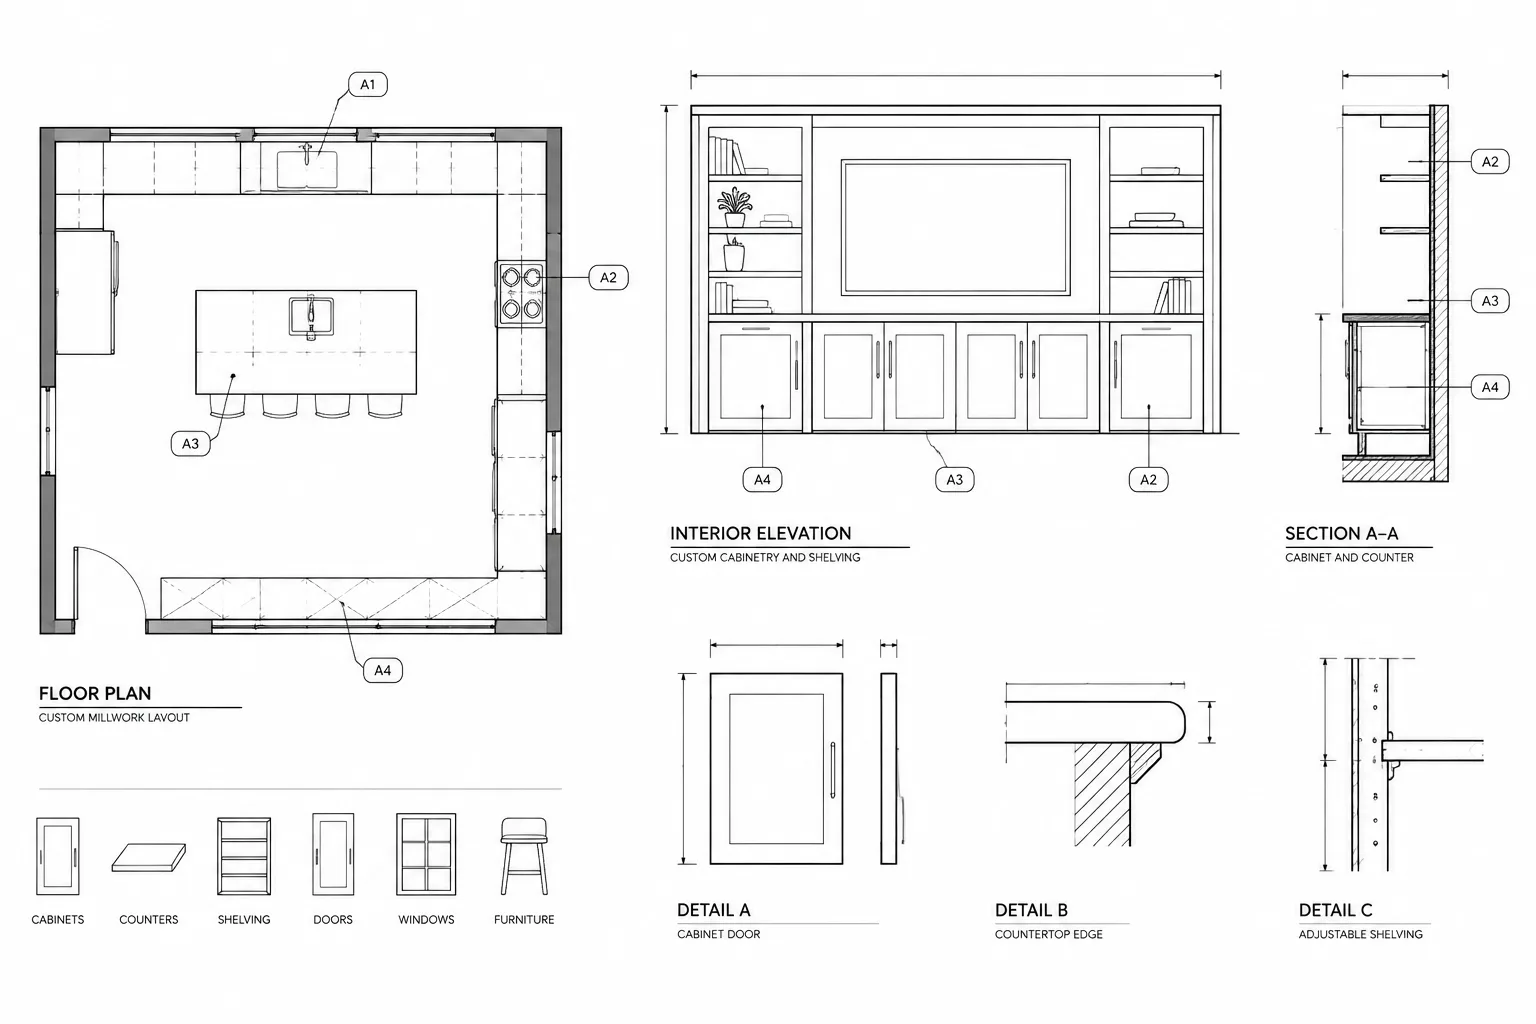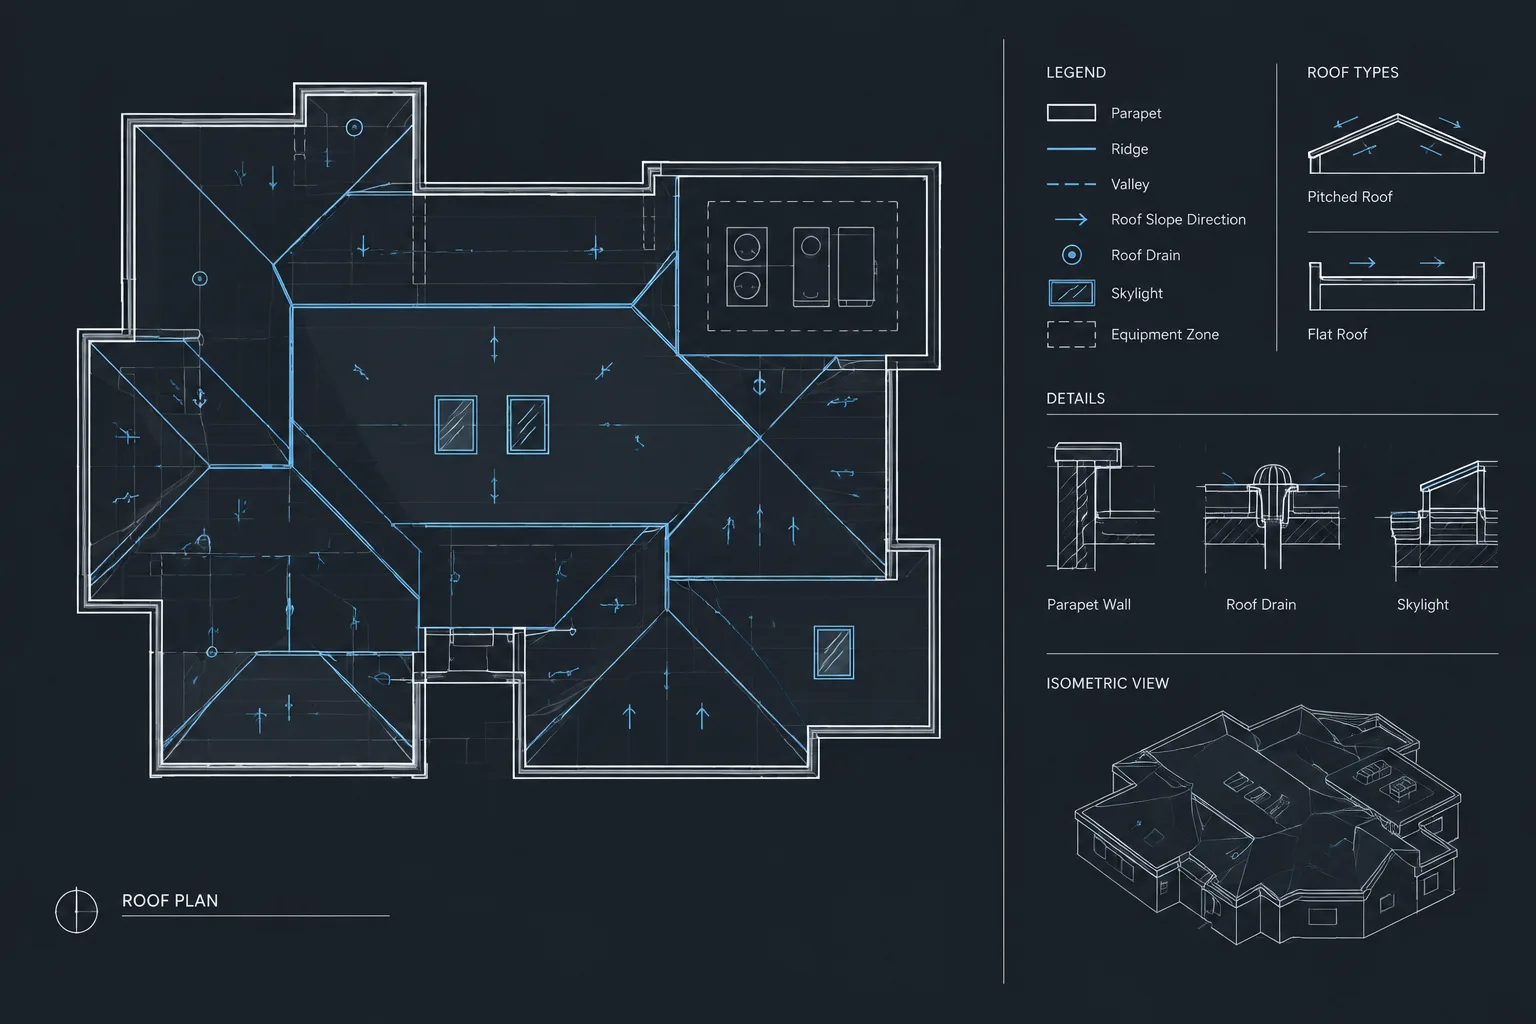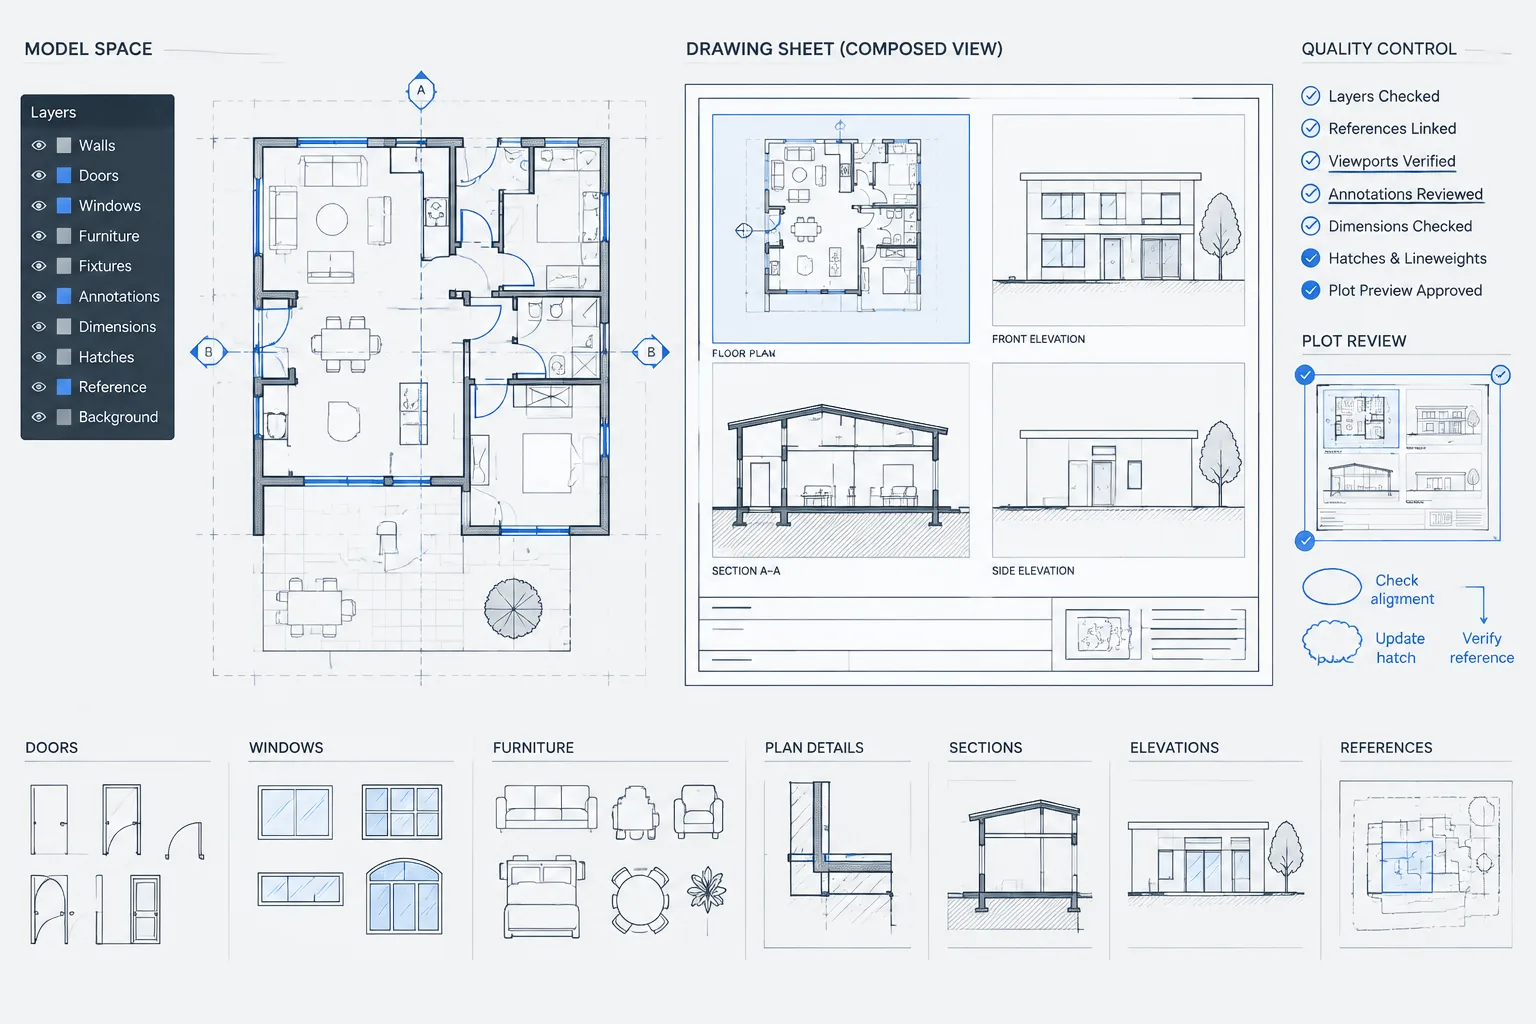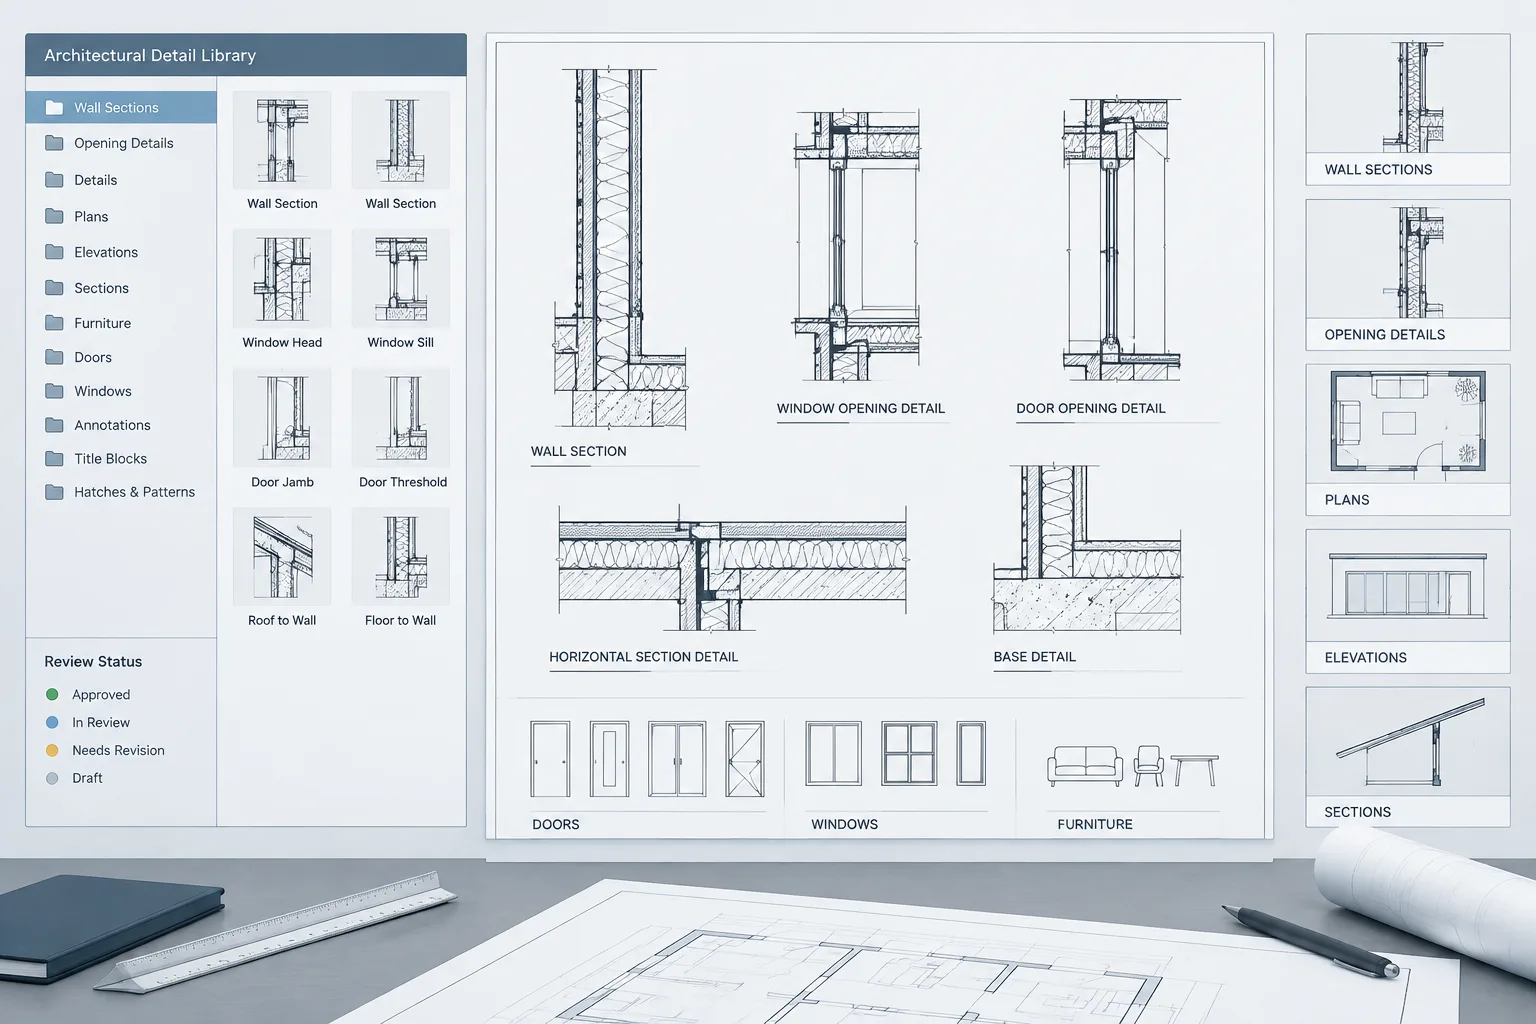
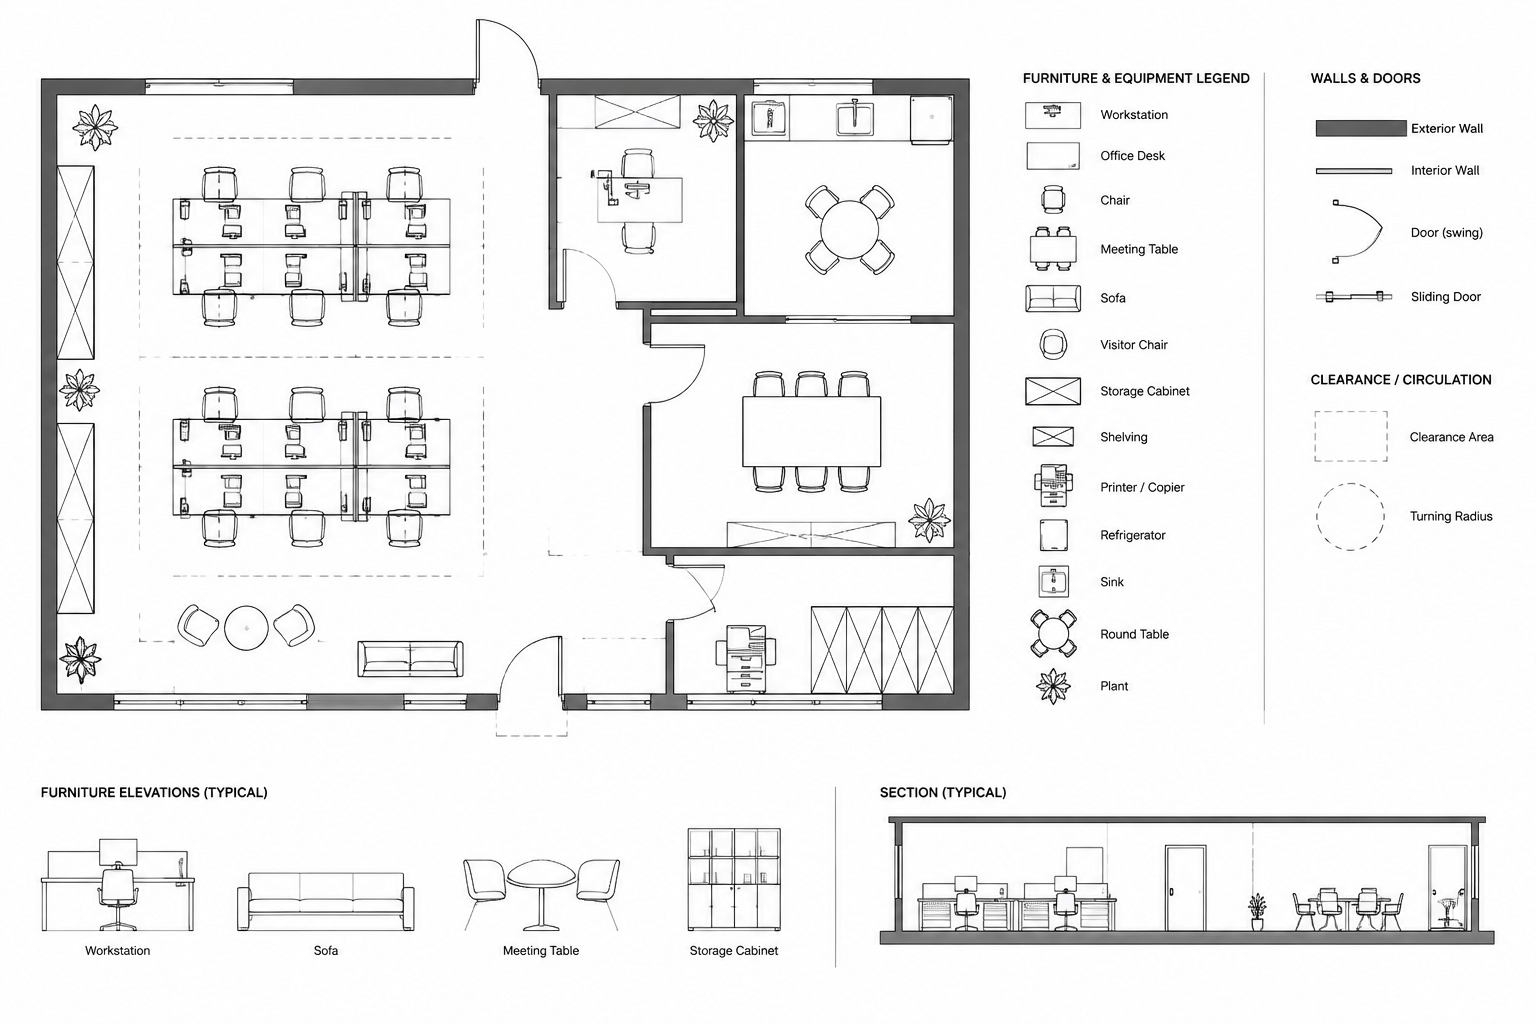
Creating a furniture and equipment plan in AutoCAD involves more than arranging symbols inside rooms. The drawing must communicate how movable items, fixed furnishings, equipment, circulation, and architectural elements work together while remaining readable and easy to revise.
This guide explains a practical workflow for defining the drawing scope, controlling the architectural background, preparing CAD blocks, organizing layers, testing layouts, coordinating schedules, and reviewing the completed plan. Use the process as a drafting framework, then adapt it to the project team’s documentation standards and verified product information.
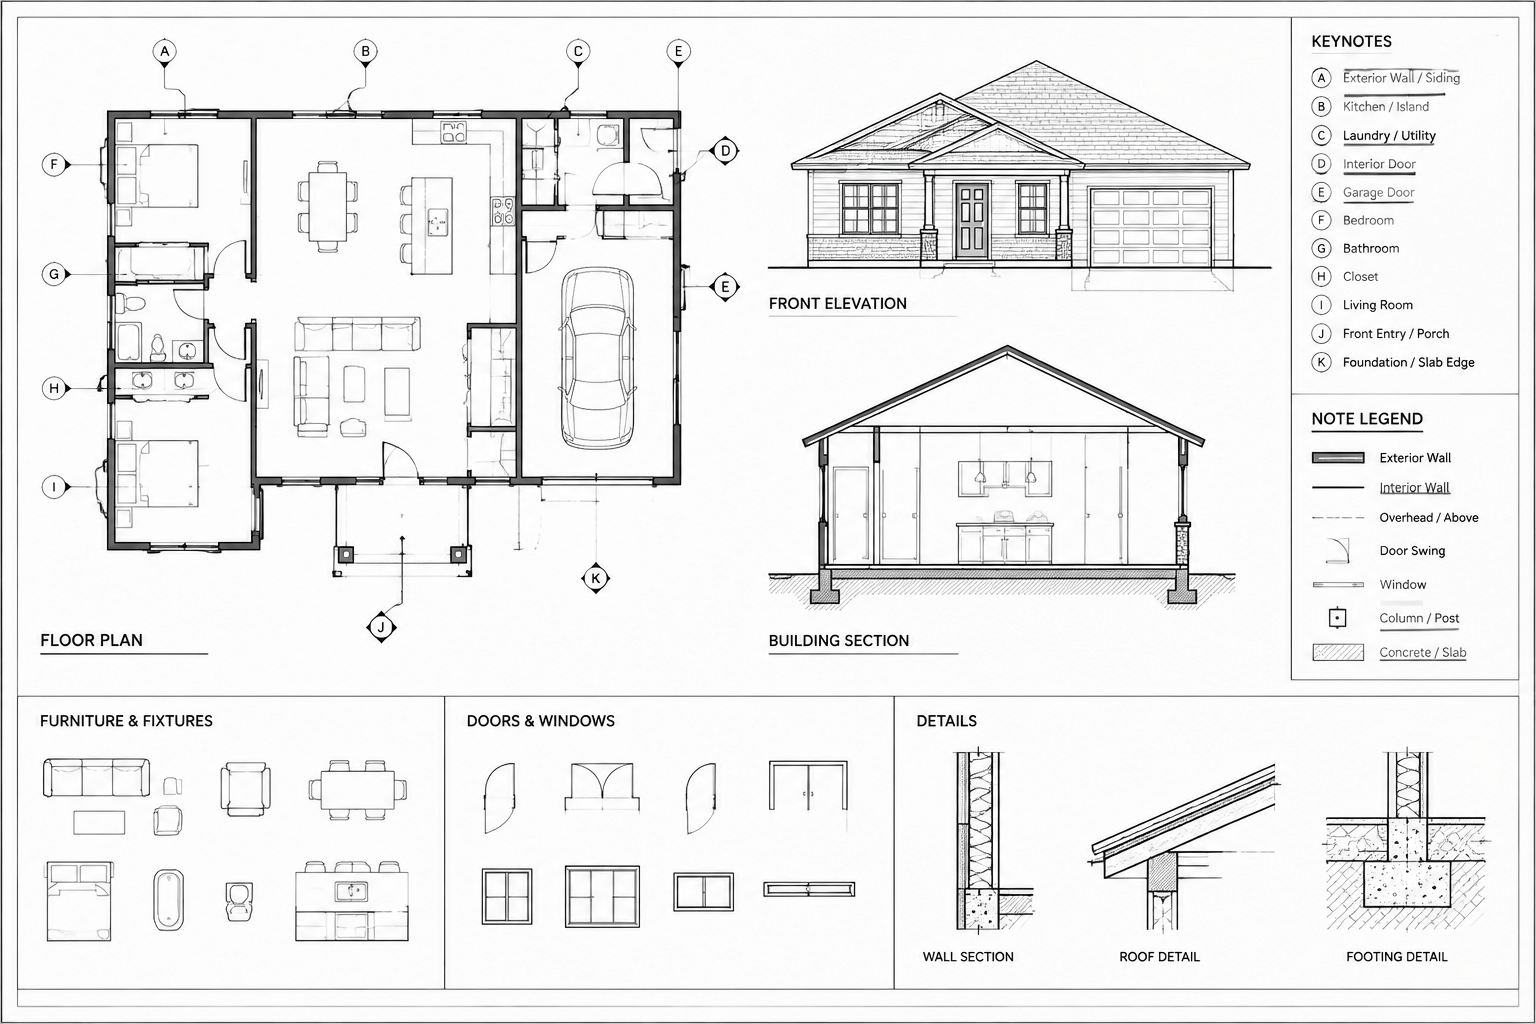
A furniture and equipment plan shows how movable items, casework, appliances, fixtures, and specialized equipment relate to the architecture of a space. It may support space planning, client review, pricing, procurement, installation, or construction coordination. Although it often begins with a floor plan, it should be managed as a coordinated drawing rather than a collection of decorative CAD blocks.
The exact scope varies by project. One drawing may show only furniture, while another combines furniture, fixtures, and equipment. Some projects separate owner-provided items from contractor-installed work. Before drafting, establish what the plan is expected to communicate and who will use it.
Define the drawing scope before placing blocks
A furniture plan and a formal furniture, fixtures, and equipment plan are not always interchangeable. A basic furniture plan may communicate room use and arrangement. A more detailed equipment plan can also coordinate item identities, utilities, mounting conditions, procurement responsibilities, and related schedules.
Prepare a short scope list covering the categories to be shown. Depending on the project, these may include:
- Loose tables, chairs, desks, sofas, beds, and storage pieces
- Built-in or freestanding cabinets and shelving
- Kitchen, laundry, office, retail, medical, or hospitality equipment
- Plumbing fixtures when they are relevant to planning and coordination
- Appliances and equipment requiring power, water, drainage, ventilation, or data
- Clearance zones, service access areas, and movable-panel paths
- Item tags, notes, and schedule references
Also decide which elements belong on other drawings. Lighting generally belongs on a reflected ceiling or lighting plan, while detailed power connections belong on the appropriate engineering drawings. The furniture plan can indicate coordination intent without duplicating every note from another discipline.
Start with a controlled architectural base
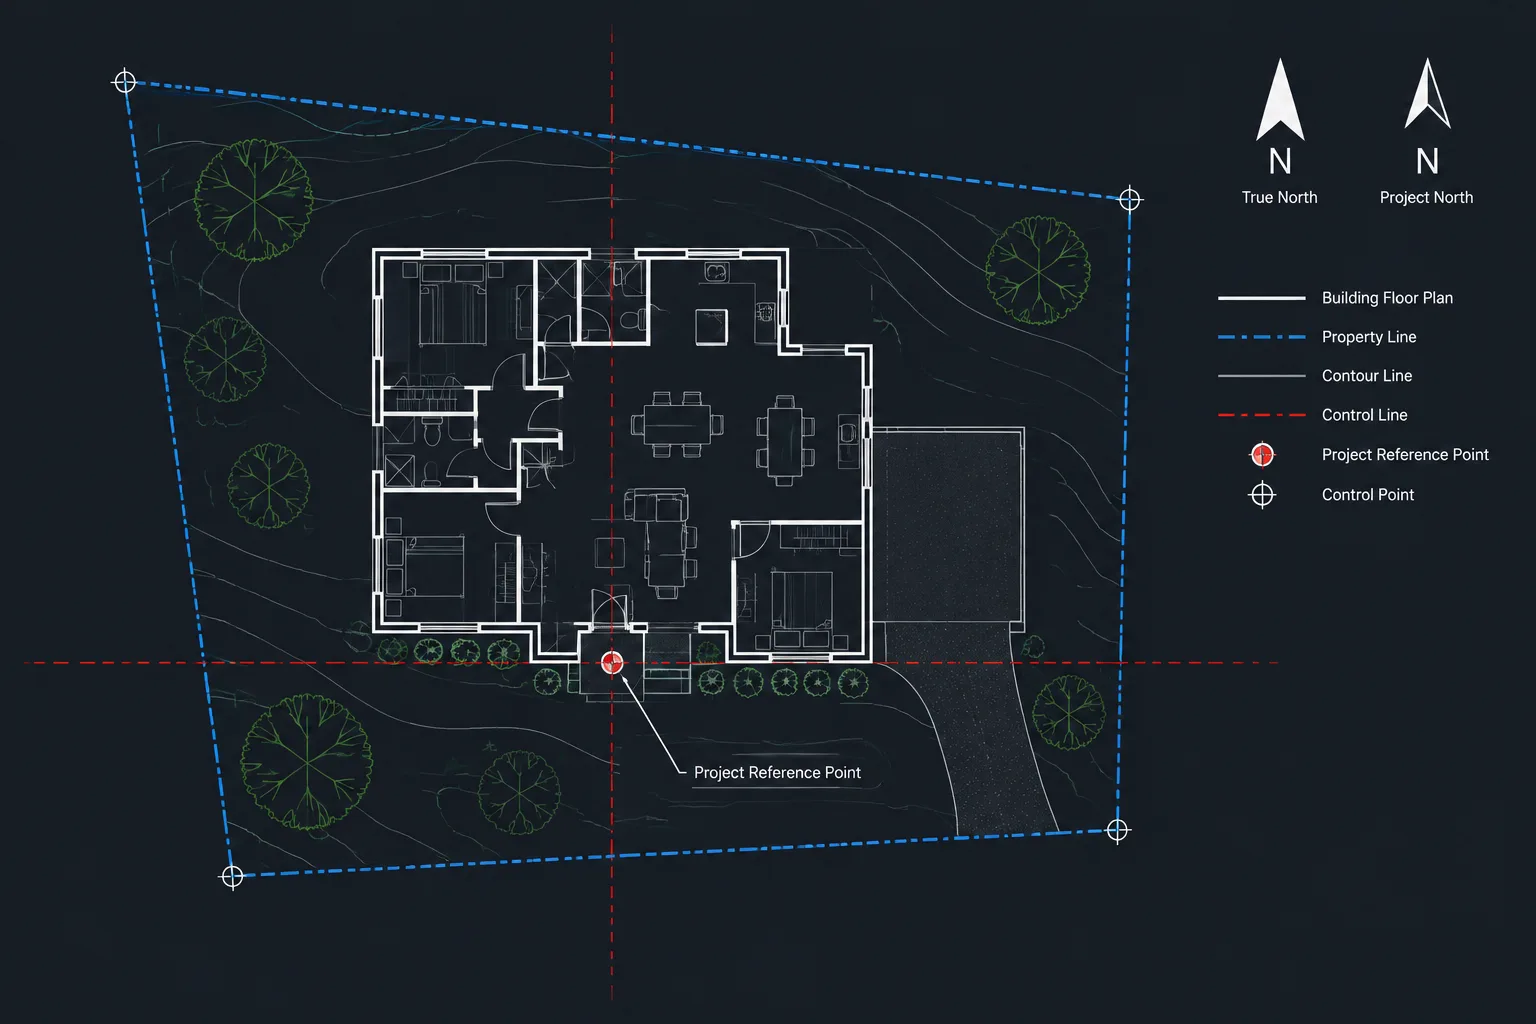
Use the current architectural floor plan as the base for the furniture drawing. When the office workflow allows it, reference the architectural background rather than copying walls, doors, and room geometry into the furniture file. A referenced base makes later architectural changes easier to identify and reduces the risk of maintaining conflicting copies.
Display enough background information to support placement decisions. Walls, columns, doors, windows, room names, and major built-ins are usually relevant. Excessive detail can make the furniture plan difficult to read, so reduce the visual strength of secondary background elements through the project’s layer and plotting standards.
Confirm drawing units before inserting any external block. A chair drawn in one unit system can appear plausible at the wrong scale if the mismatch is not caught immediately. Check a known architectural element, inspect the source block, and verify that the block geometry represents its actual intended size.
Organize furniture and equipment by meaningful categories
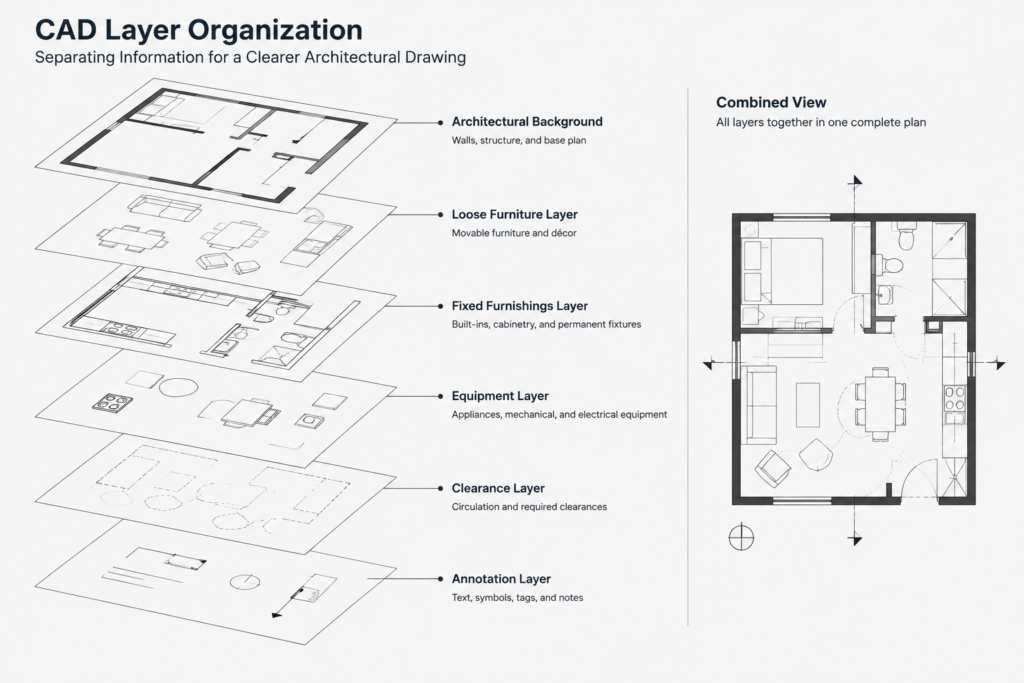
A single layer for every object may be quick at first, but it limits control later. Use categories that reflect how the drawing will be edited, displayed, scheduled, and issued. The layer names should follow the established office or project convention rather than an improvised system used only in one file.
| Drawing category | Typical content | Why separate it |
|---|---|---|
| Loose furniture | Chairs, tables, desks, beds, and movable storage | Allows layout studies and procurement items to be isolated |
| Fixed furnishings | Built-in benches, counters, shelving, and casework | Distinguishes construction-related items from movable pieces |
| Equipment | Appliances, machines, and specialty devices | Supports utility and installation coordination |
| Clearances | Access, operation, service, and movement zones | Permits review without plotting every guide on every issue |
| Tags and notes | Item identifiers, keynotes, and coordination notes | Provides separate control over annotation appearance |
| Existing or relocated items | Items retained, removed, or moved during renovation | Clarifies status and avoids ambiguous reuse assumptions |
Categories should not imply contractual responsibility unless that responsibility has been established. If ownership or installation responsibility matters, record it explicitly in the schedule, notes, or specifications used by the project team.
Prepare CAD blocks for reliable planning
Use blocks that are clean, correctly scaled, and appropriate for the drawing view. Plan blocks should represent the footprint and important operating parts of an item without unnecessary product-level detail. Dense linework, tiny hardware, surface patterns, and repeated contours can make a floor plan noisy and increase file size.
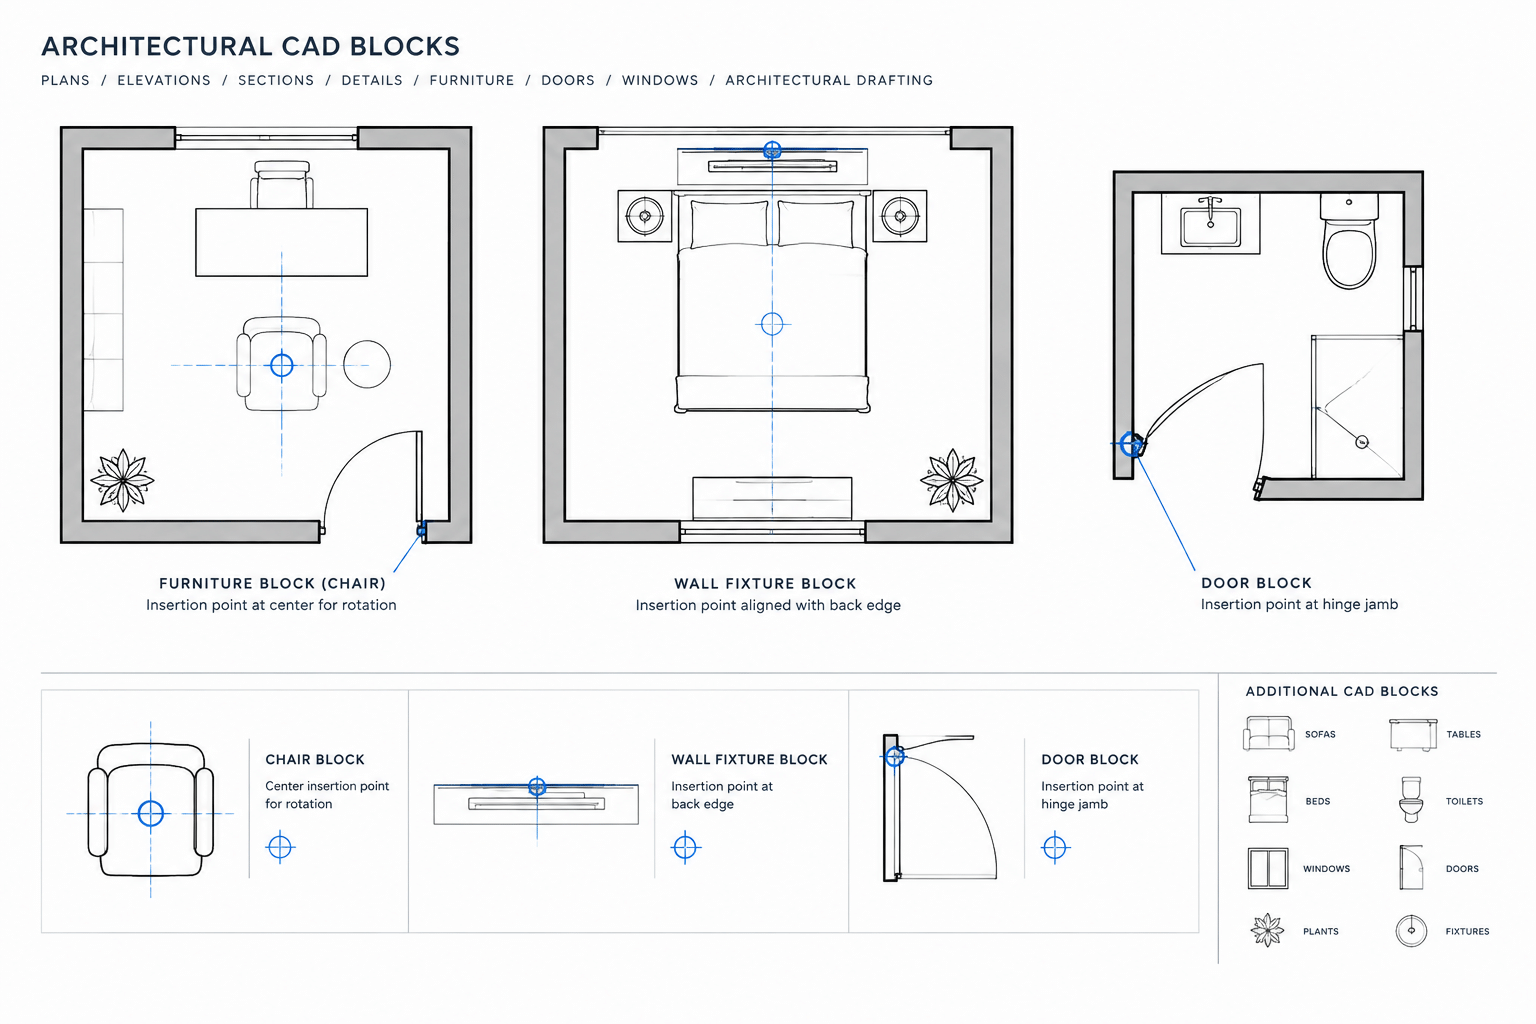
Before adding a downloaded DWG block to the project library, inspect it in a separate working file. Check its units, layer content, linework, base point, nested objects, text, and overall extents. Remove irrelevant geometry and assign properties according to the office block standard. Do not assume a downloaded symbol represents a verified product or a code-compliant layout.
Choose a repeatable placement reference. A block may be based at its center, a back corner, a wall contact point, or another logical alignment location. The best choice depends on how the item is normally positioned. Consistency is more important than forcing every type of furniture to use the same base-point convention.
Develop the layout from circulation and use
Place the largest or least flexible items first. These may include beds, conference tables, workstations, major appliances, reception desks, or specialty equipment. Next, arrange supporting furniture and verify that doors, drawers, chairs, and movable panels can operate as intended.
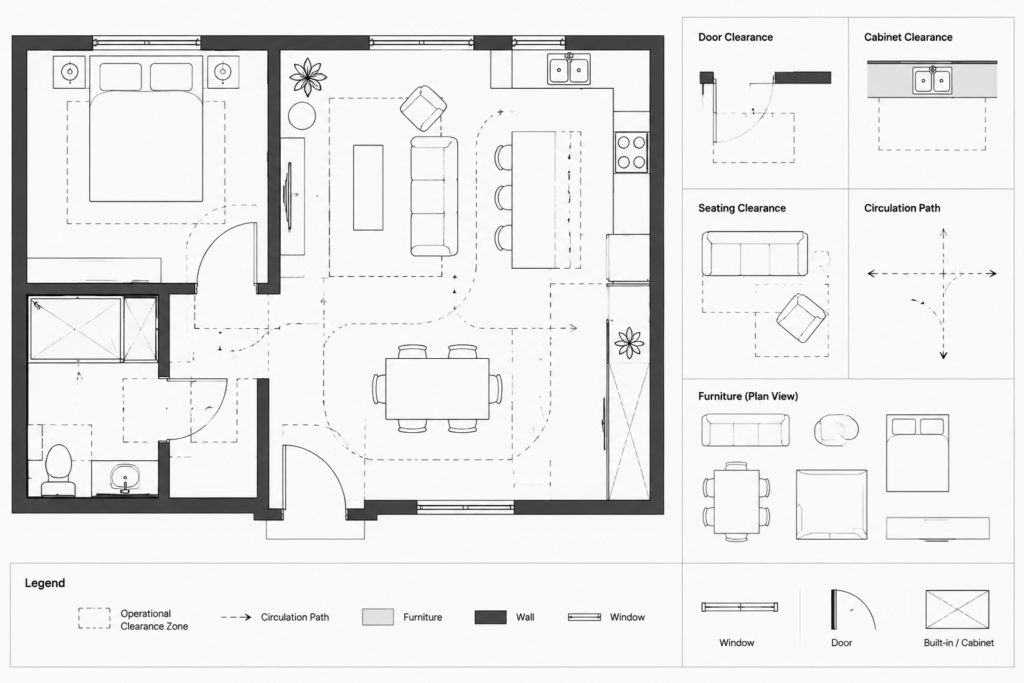
Do not evaluate a layout only by whether the outlines fit inside the room. Consider how occupants approach, use, clean, and maintain each item. Review the routes between doors and occupied areas, access to storage, sightlines where relevant, and conflicts with columns, glazing, radiators, floor boxes, or wall-mounted devices.
Clearance graphics can be valuable working tools. Use simple dashed boundaries, arcs, or separate blocks to represent chair pullback, door operation, equipment service access, or other functional zones. Keep these graphics on controllable layers so they can appear during coordination without overwhelming the issued plan.
Required clearances depend on the occupancy, equipment, jurisdiction, adopted rules, and project criteria. A generic CAD block should never be treated as proof that a room satisfies accessibility, egress, safety, or manufacturer requirements.
Tag items without overcrowding the plan
Tags connect plan symbols to schedules, specifications, selections, or procurement information. Establish a consistent identification method before tagging. An identifier might represent an item type, an individual asset, or a group of matching pieces. Mixing these approaches can produce duplicate or misleading quantities.
Keep tags outside dense linework when possible, and use leaders only where the association would otherwise be unclear. Repeated identical items may be tagged individually or identified as a group, depending on how quantities and locations are tracked. Whatever method is selected, apply it consistently across the drawing and schedule.
Block attributes can help store visible identifiers or other controlled information, but attributes are only as dependable as the editing process behind them. Check for copied blocks that retain an old tag, description, or status. A visually correct symbol can still carry incorrect data.
Coordinate plans, elevations, schedules, and utilities
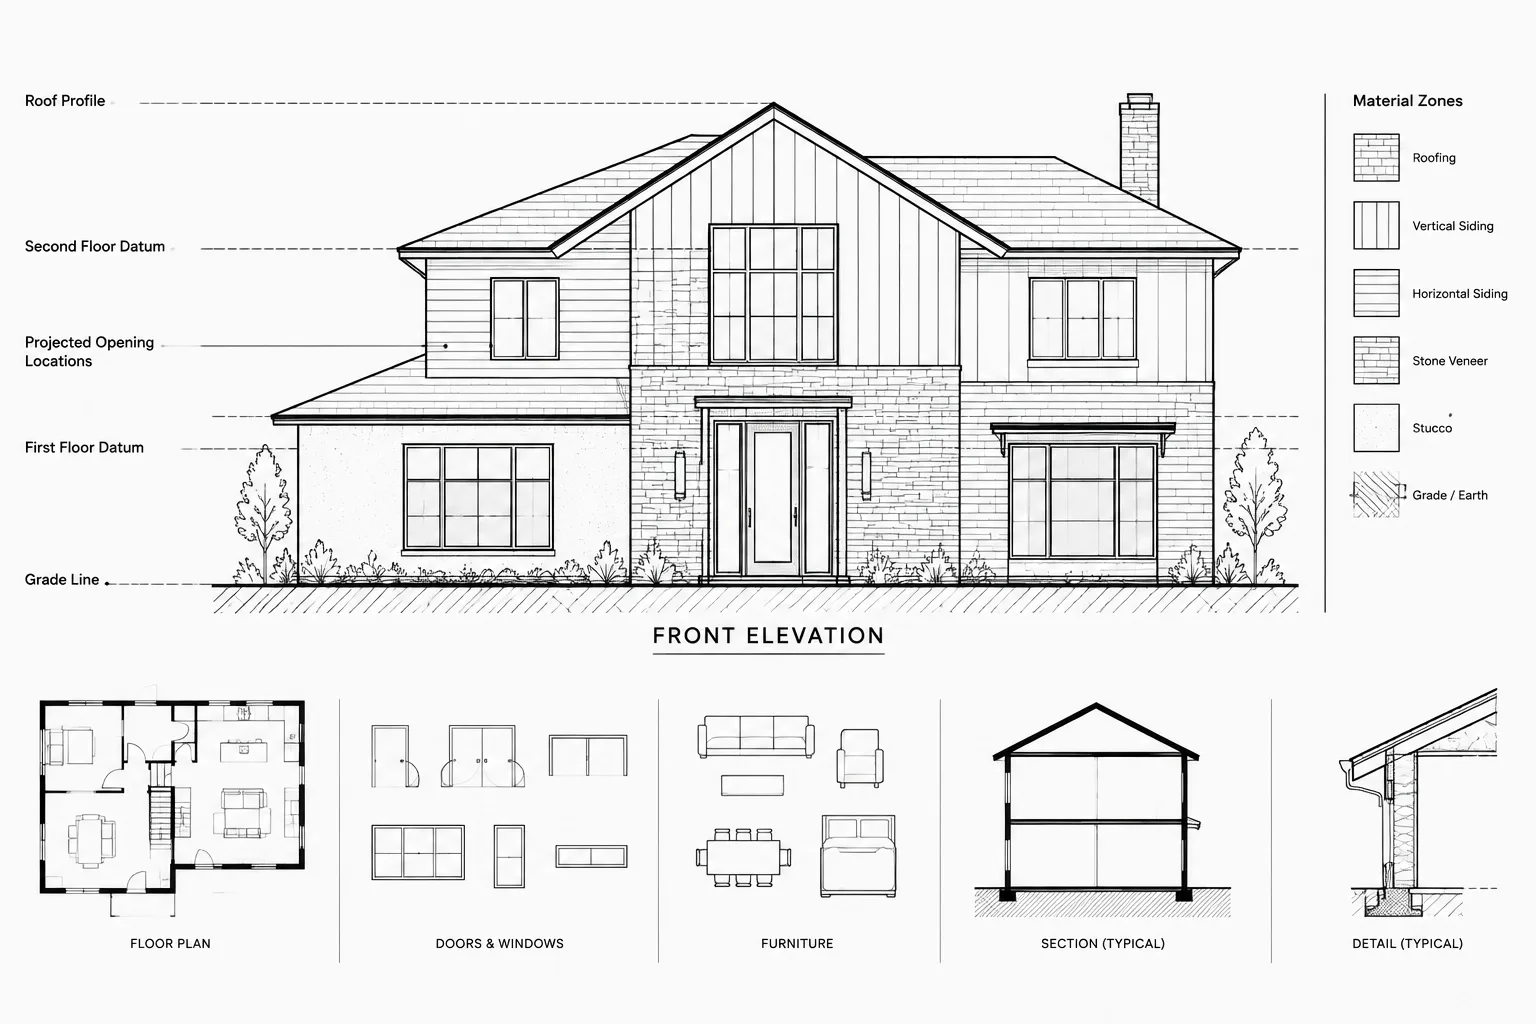
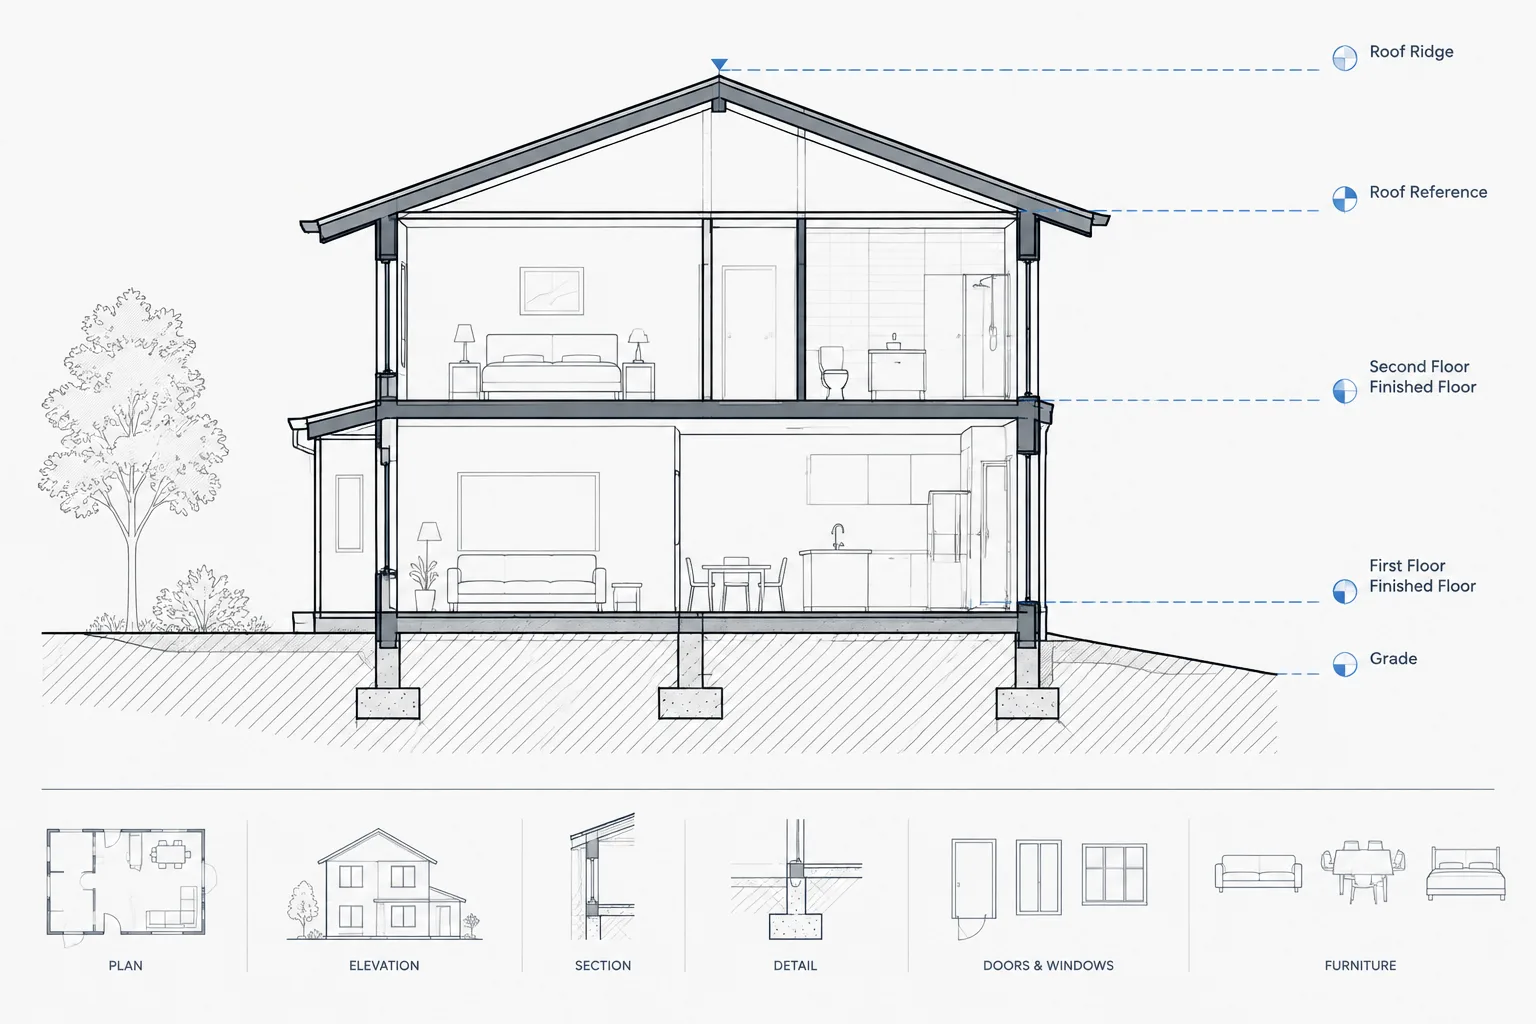
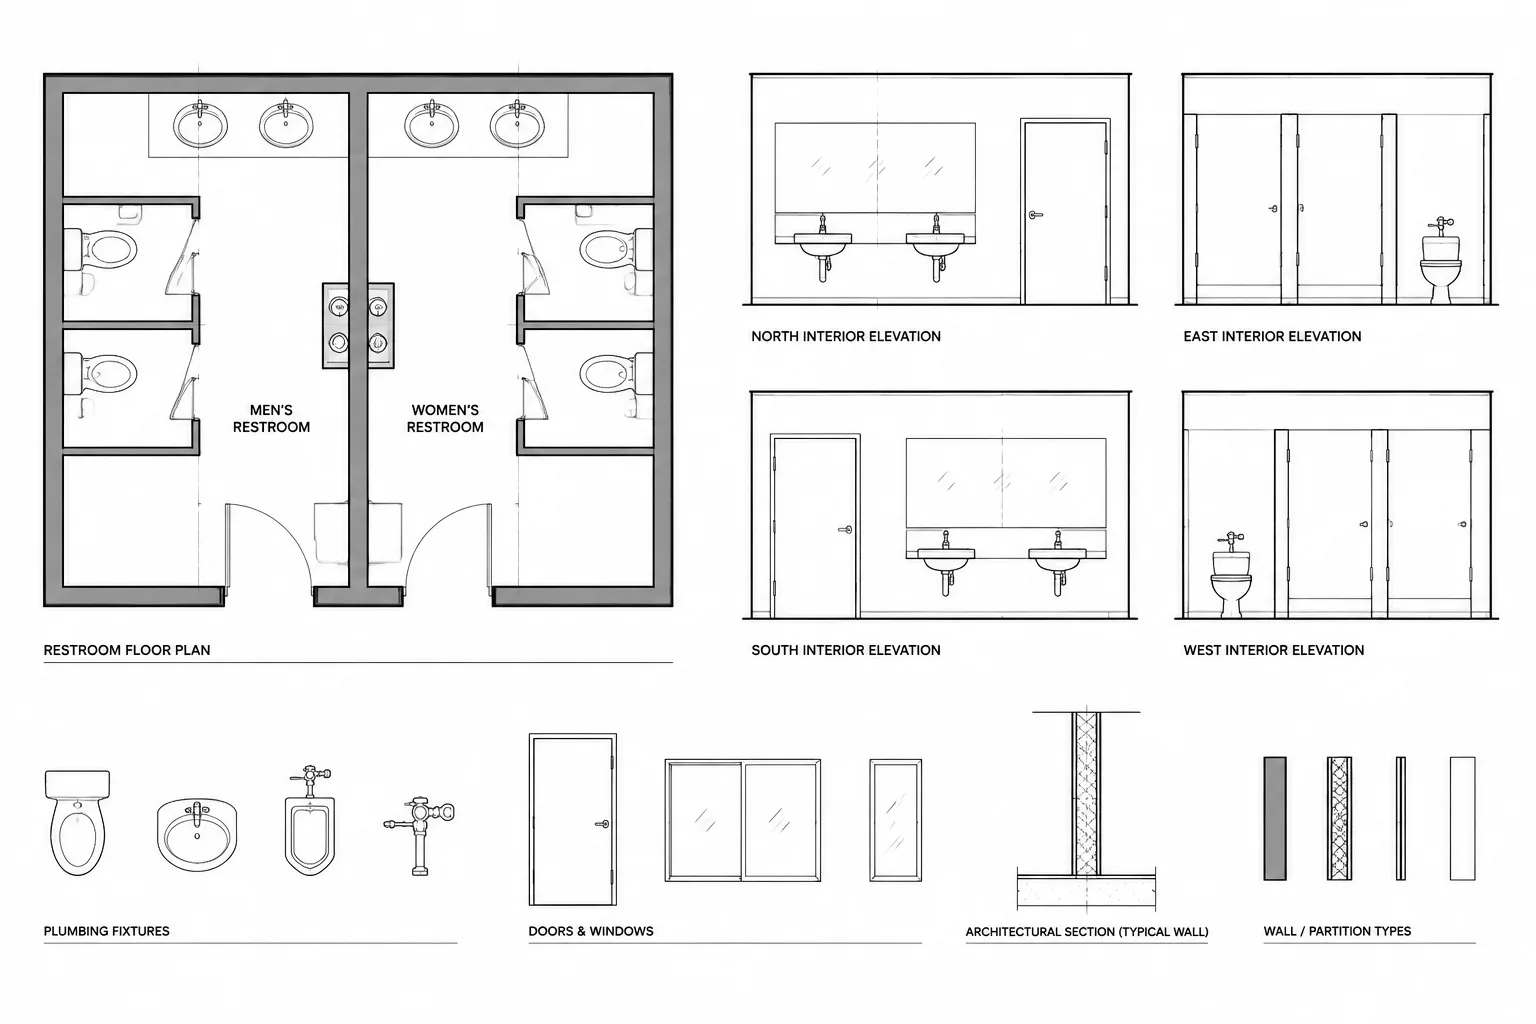
The plan is only one view of the layout. Wall-mounted equipment, cabinets, mirrors, shelving, and stacked components may require interior elevations or sections to communicate mounting relationships and vertical clearances. Use the same item identifiers across every relevant view.
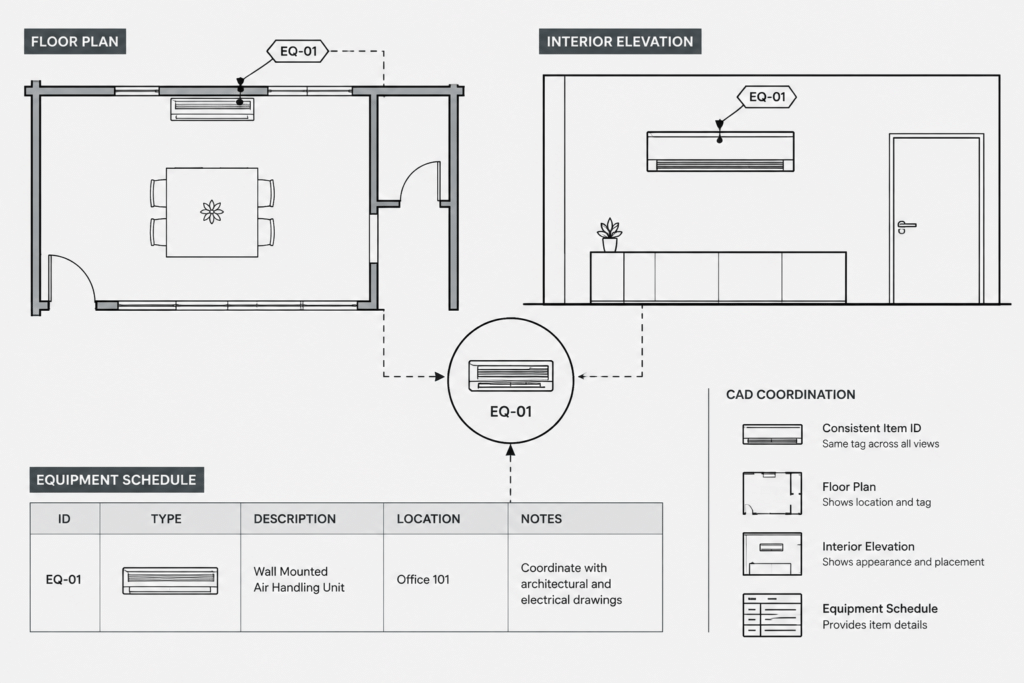
Equipment with utility needs should be compared with electrical, plumbing, mechanical, data, and architectural backgrounds. Check the actual item information available to the project rather than inferring connection locations from a generic block. Product selections may change, so unresolved requirements should be recorded and tracked instead of being silently assumed.
Schedules should be checked against the drawing, not generated or edited in isolation. Review identifiers, descriptions, quantities, room locations, status, and responsibility fields as applicable. If the project distinguishes new, existing, relocated, owner-furnished, or contractor-provided items, make those categories understandable in both the plan and schedule.
Use a repeatable quality-control pass
Complete a focused review before issuing the drawing. A useful furniture and equipment plan check includes:
- Confirming that the architectural background is current
- Checking block scale, orientation, and alignment
- Looking for objects placed inside walls, columns, glazing, or door swings
- Reviewing circulation, operation, and service zones
- Comparing item tags with schedules and related elevations
- Checking quantities for duplicated or missing items
- Verifying that utility-dependent equipment has been coordinated
- Reviewing existing, relocated, and new-item status
- Plotting at the intended sheet scale to test legibility
- Removing temporary notes, abandoned studies, and unused block definitions as appropriate
Run the review again after major plan changes. A shifted partition or revised door can invalidate a layout even when no furniture objects were intentionally edited.
Keep planning graphics separate from verified project information
Furniture blocks are excellent for testing arrangements and communicating design intent, but their linework should not be mistaken for verified product data. Generic blocks may omit handles, cords, controls, access panels, tolerances, or installation constraints. Even manufacturer-based drawings should be checked against the current selected item and project documentation.
A strong furniture and equipment plan combines clean CAD organization with practical spatial review. By controlling the architectural base, standardizing blocks, separating useful categories, coordinating tags and schedules, and checking functional clearances, the drawing becomes a dependable project tool rather than a visual arrangement of symbols.
Manage revisions as coordination decisions
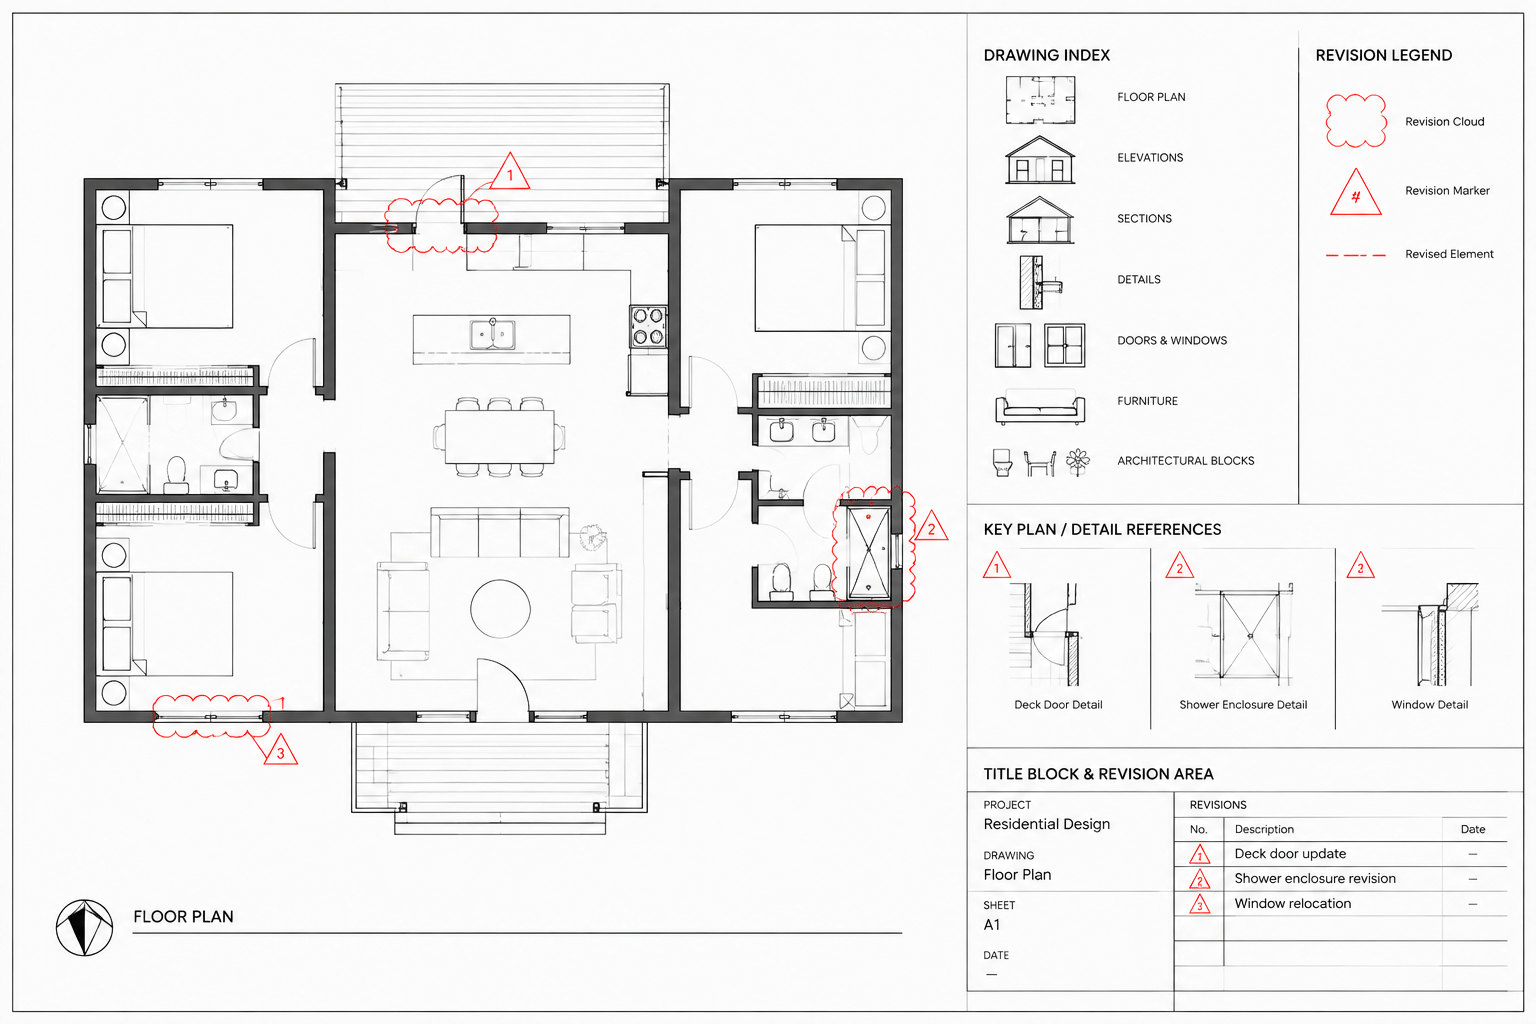
Furniture and equipment layouts often change as rooms, selections, and user requirements develop. When a revision occurs, review its effect on more than the moved symbol. A relocated item may alter circulation, tag placement, quantities, utility coordination, elevations, or installation notes.
Keep unresolved decisions visible through the project’s established note or status system. This helps reviewers distinguish confirmed selections from planning assumptions and prevents temporary information from appearing final. Remove or update these markers when the related decision is resolved.
Prepare the plan for different readers
Designers, clients, estimators, installers, and consultants may read the same plan for different reasons. The drawing hierarchy should make room boundaries, item locations, identifiers, and important operating zones understandable without allowing the architectural background to overpower the furniture information.
Before issue, review both the working file and the plotted result. Confirm that linework remains distinguishable, tags can be traced to the correct objects, screened backgrounds remain visible, and clearance graphics appear only when they support the purpose of the issue.
Record assumptions that CAD geometry cannot prove
A block can show an intended location, but it cannot establish that an item is available, correctly selected, properly connected, or suitable for the project. Where product information is incomplete, document the assumption through the project’s normal coordination process rather than embedding unverified detail into the symbol.
This distinction keeps the drawing useful during planning while making it clear which information still requires confirmation from the design team, supplier, consultant, manufacturer, or authority responsible for review.
Frequently asked questions
What is the difference between a furniture plan and an equipment plan?
A furniture plan primarily communicates the arrangement and use of movable or fixed furnishings. An equipment plan may require additional coordination for item identification, installation, utilities, service access, procurement, and related schedules. Projects may combine these purposes or document them separately.
Should the architectural floor plan be copied into the furniture drawing?
A controlled reference is generally easier to coordinate than a disconnected copy when the project workflow supports referenced backgrounds. The important point is to use a current architectural base and avoid maintaining conflicting versions of walls, doors, and room geometry.
What should be checked before using a downloaded furniture block?
Inspect its units, scale, base point, layers, linework, nested content, text, and extents in a separate working file. Remove unnecessary detail and confirm that the geometry is appropriate for planning. A generic block should not be treated as verified product information.
Should clearance zones appear on the issued plan?
Clearance graphics can support design and coordination, but whether they appear on an issued drawing depends on its purpose. Keeping them on separate, controllable layers allows the team to display useful operating or service zones without cluttering every output.
How should furniture and equipment tags be coordinated with schedules?
Use a consistent identifier in the plan, schedule, and related elevations or sections. Review copied blocks for outdated attributes, confirm quantities and room locations, and make item status or responsibility clear wherever the project tracks that information.
Can a furniture plan confirm accessibility or code compliance?
No. The plan can help the team study circulation and operating space, but generic symbols and clearance graphics do not prove compliance. Applicable requirements, selected products, field conditions, and project criteria must be verified by the responsible professionals.