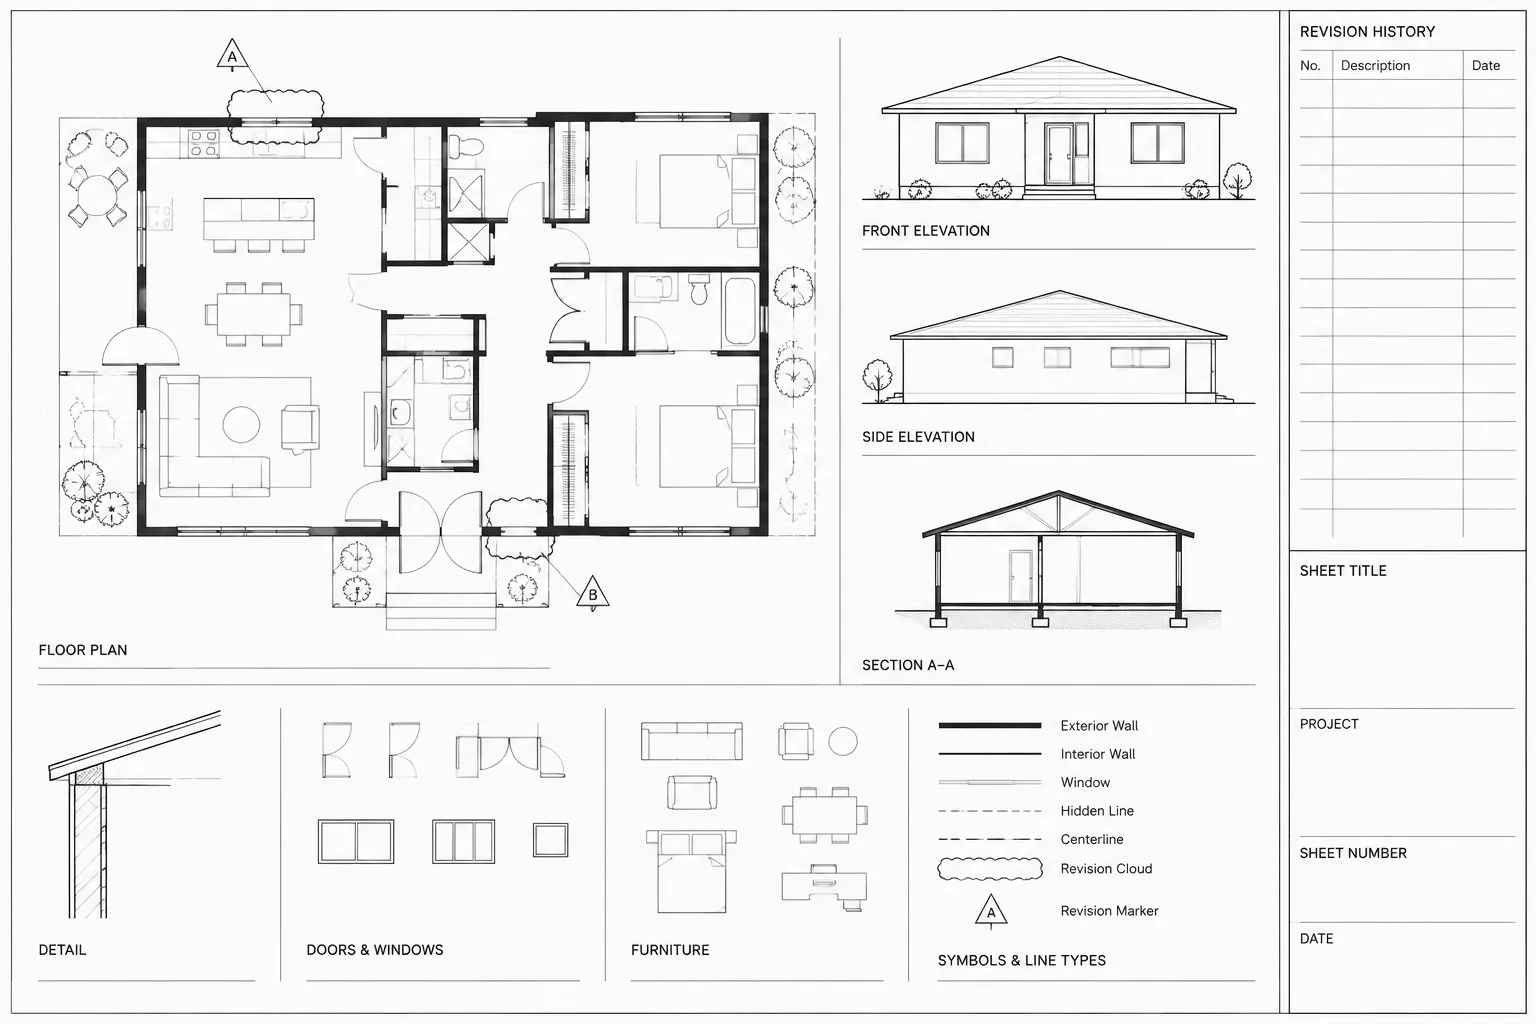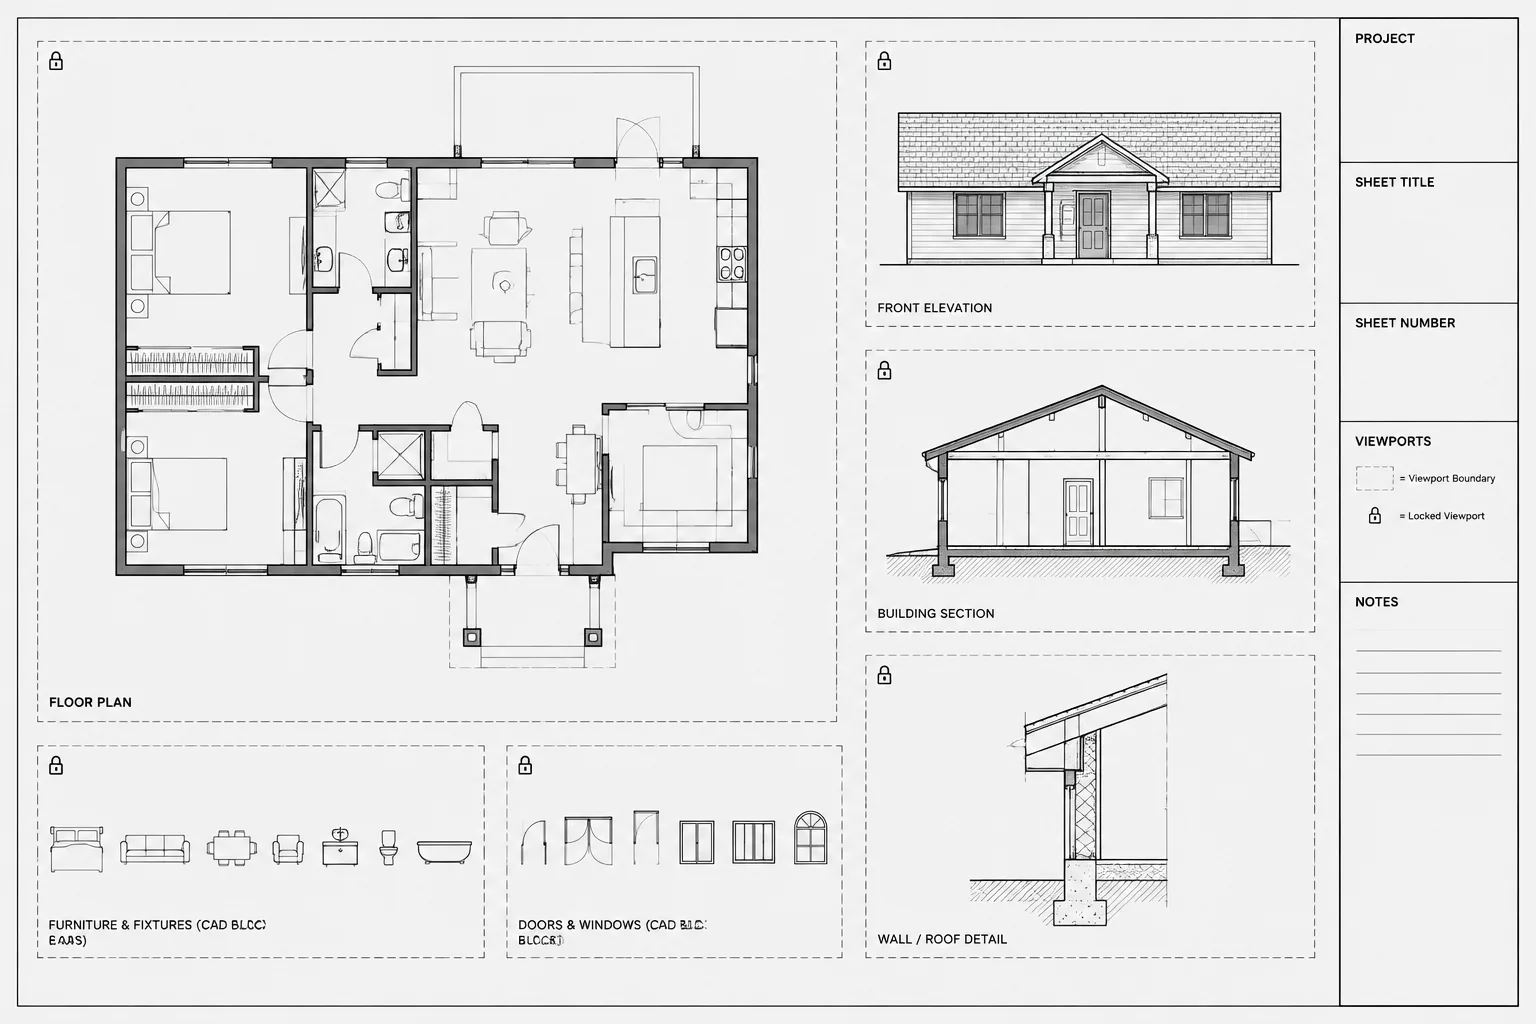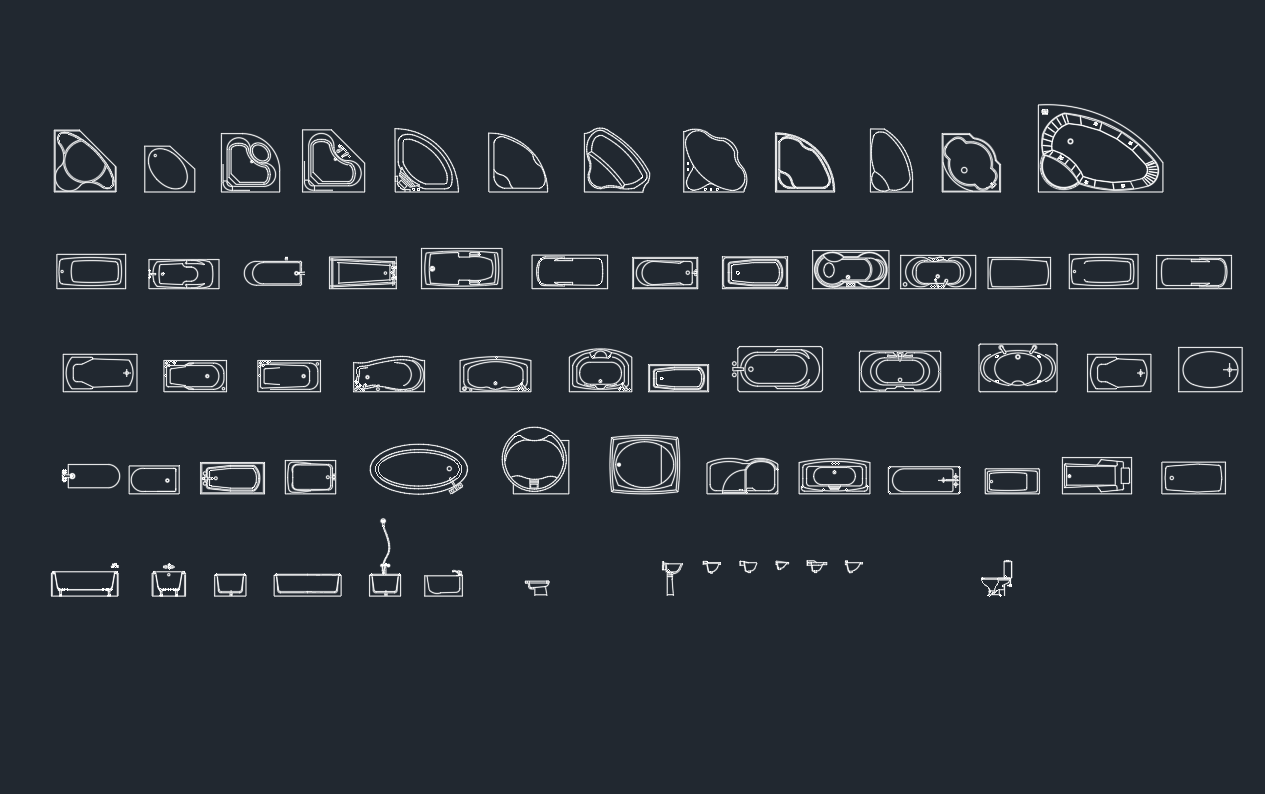
Bathtub CAD blocks provide reusable drawing geometry for bathroom plans, elevations, and related coordination drawings. The downloadable DWG resource below can help architects, interior designers, builders, students, and CAD users avoid redrawing a bathtub symbol for each layout.
Before incorporating any block into a project, review its geometry, drawing units, scale, insertion point, layers, and linework. Confirm the selected bathtub against the intended product information, surrounding clearances, wall construction, plumbing arrangement, and applicable project requirements.
Explore our high-quality Bathtubs DWG file, designed specifically for architects, interior designers, and construction professionals. This detailed CAD Block offers precise bathtub dimensions and layouts, making it ideal for bathroom design projects, remodeling plans, and architectural presentations. The DWG file is fully compatible with AutoCAD and other popular CAD software, ensuring seamless integration into your design workflow. Use this Bathtubs CAD Block to enhance your 2D floor plans, elevations, and plumbing schematics with accurate, ready-to-use bathtub models for any residential or commercial project. Perfect for streamlining your drafting process and achieving professional results.
Please log in or register to download this file.
How to Use Bathtub CAD Blocks in Bathroom Drawings
Insert the DWG content into a working file using the same unit convention as the bathroom drawing. Place the bathtub relative to finished wall faces and other fixed elements rather than positioning it only by eye. Once placed, verify that the fixture outline communicates the intended orientation and does not conflict with doors, partitions, vanities, toilets, or circulation areas.
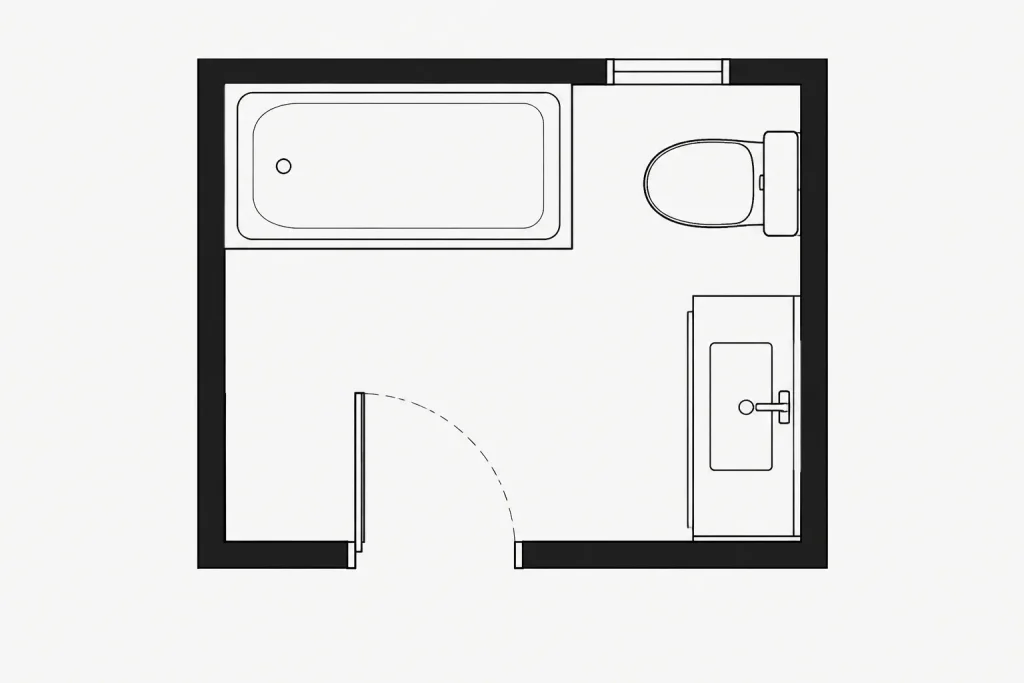
A bathtub symbol is primarily a drafting reference. It should not be treated as verified manufacturer data unless its geometry has been checked against current product documentation. The actual installation may also depend on framing, finish thickness, access requirements, waterproofing strategy, plumbing connections, and the selected fixture type.
Recommended DWG Review Workflow
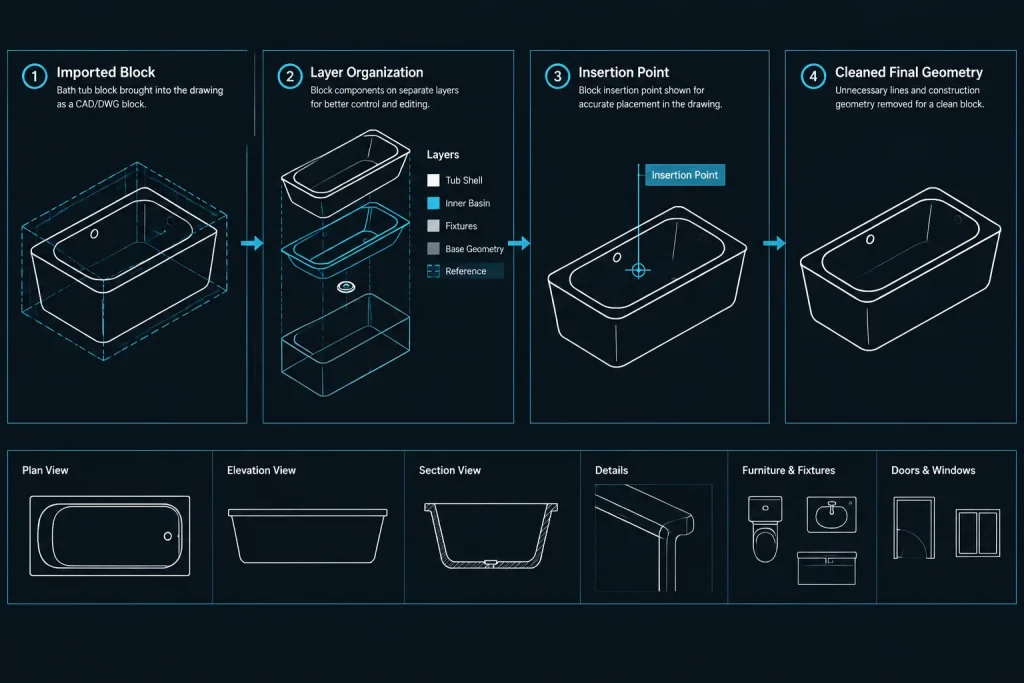
- Open and inspect the file: Review the included views and remove geometry that is not needed for the current drawing.
- Confirm units and scale: Compare the block with known project geometry before relying on its apparent size.
- Check the insertion point: Use a practical reference location that supports accurate placement against walls or other construction lines.
- Review layers: Move imported objects to project-standard layers where appropriate, while preserving useful distinctions between outlines, hidden information, fixtures, and annotations.
- Clean the graphics: Check for duplicate lines, stray objects, inconsistent linetypes, unnecessary fills, or excessive detail that may reduce drawing clarity.
- Coordinate related views: Make sure plan and elevation representations describe the same fixture orientation and installation condition.
- Verify the selected product: Replace generic geometry or adjust the block when confirmed manufacturer information becomes available.
Where Bathtub Blocks Fit in a Drawing Set
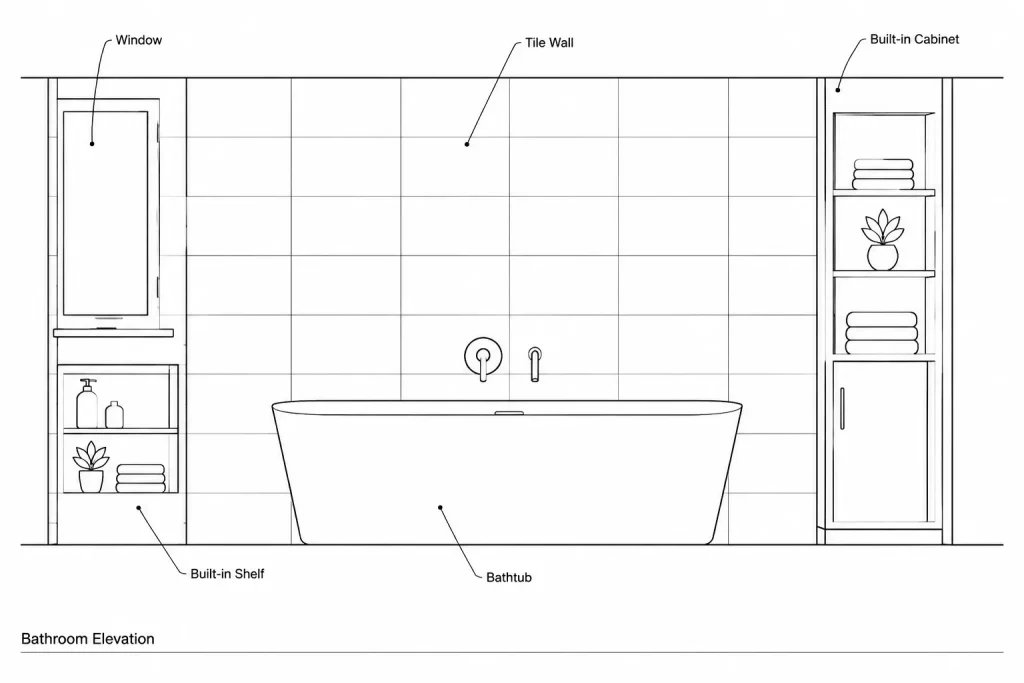
In a floor plan, the block helps communicate fixture placement and the relationship between the bathtub, walls, doors, and nearby bathroom fixtures. In an elevation, bathtub geometry can support the coordination of wall finishes, fittings, accessories, and adjacent built-in elements. Plumbing schematics may use simplified fixture graphics, but connection locations should be established from verified project and product information.
Related Bathroom Drafting Resources
Bathtub blocks are most useful when coordinated with other drawing resources rather than used in isolation. Related topics include bathroom CAD blocks, plumbing fixture symbols, toilet and sink blocks, shower layouts, bathroom floor plans, door swings, wall elevations, architectural dimensions, CAD layers, and plan-reading conventions. Reviewing these subjects together can improve consistency across a bathroom drawing set.
Choosing the Appropriate Level of Detail
Use enough detail to make the bathtub recognizable at the intended drawing scale, but avoid retaining small decorative features that obscure the plan or produce heavy plotted linework. General layout drawings usually benefit from a clear fixture outline, while enlarged plans and interior elevations may require additional visible features. Keep specification notes and verified product information separate from generic block geometry.
Frequently Asked Questions
What is a bathtub CAD block?
A bathtub CAD block is reusable drawing geometry representing a bathtub in an architectural or interior drawing. Depending on the source file, it may include plan, elevation, or other drafting views.
Can this DWG file be used directly in a bathroom plan?
It can be inserted as a starting point, but the geometry should be checked against the drawing units, project scale, selected fixture, wall construction, and surrounding layout before use.
Should a generic bathtub block be used for construction dimensions?
Do not assume generic block geometry matches a purchased fixture. Base construction dimensions and installation coordination on verified project documents and current manufacturer information.
How should imported bathtub blocks be organized?
Review object layers, colors, linetypes, lineweights, and naming conventions. Reorganize the content to match the office or project CAD standard without losing distinctions that remain useful.
What should be checked after inserting the block?
Check scale, units, orientation, insertion point, wall alignment, nearby fixtures, door movement, annotations, and plotted clarity. Also confirm that plan and elevation views remain coordinated.
Can bathtub blocks be used in plumbing schematics?
Bathtub geometry may serve as a graphic reference in a plumbing drawing, but connection points and installation conditions must be coordinated with verified fixture and project information.